Puppy K-9

So, remember a while ago I posted about a work in progress? She’s still a work in progress, but while I don’t have full setup for her internal hardware, her chassis did indeed get “finished” in time for ABQ Maker Faire, so here’s a picture of her on my table:

DSC_6776.JPG

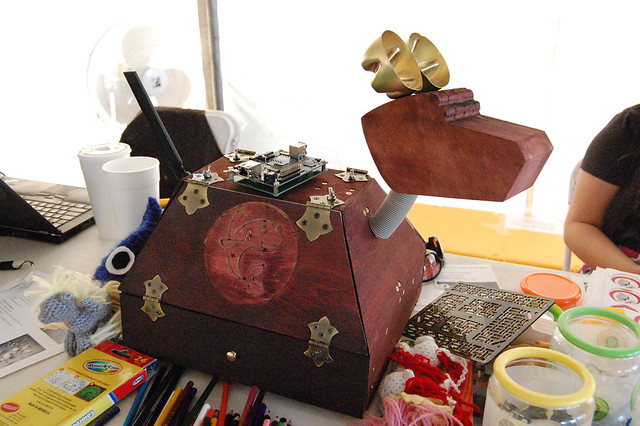
This picture care of the fine folk at Quelab. I’ve kind of forgotten who actually took the picture. You can tell it wasn’t me because that’s my elbow in there!

You know how people joke that building ikea furniture together as a couple is the ultimate test of your relationship? Try designing steampunk robots together! With a deadline looming! I think we did most of this in around 2 weeks, although we had batted the idea around for a while.

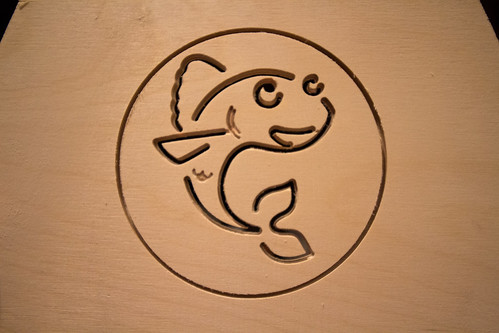
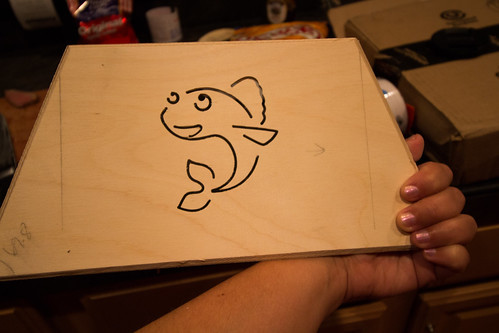
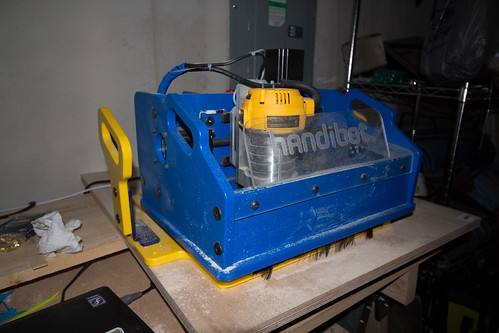
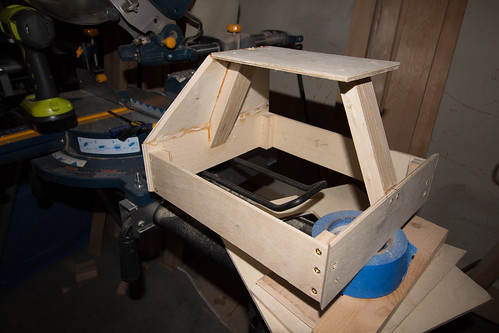
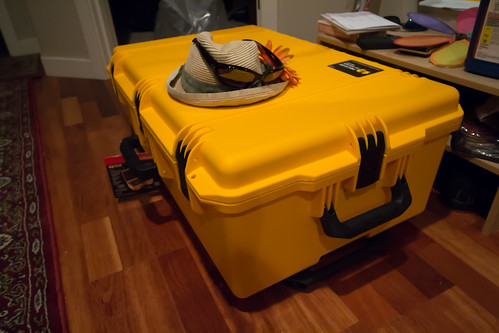
The germ of the idea was my fault. I wanted a puppy k-9 who would be less hassle to travel with than John’s full-sized k-9 replica, which weighs over a hundred pounds when you include the 3 pelican cases needed to ship him. And I wanted her to be steampunk, because it would break us away from being show-accurate and make her amusingly photogenic. Her job, by and large, is to convince people to come talk to us, although we have some other functional plans for her too! However, it’s a long path from idea to finished project, and I have to say that John did the bulk of the execution while I handled the details — he got the c&c machine to cut out dog panels and engineered it so I could have the wing doors I wanted without compromising structural integrity, while I convinced the c&c to cut out a modified minnowboard logo for the resin inlay, and figured out the hinges and staining. I admit, we might have done some arguing, but we worked her out!

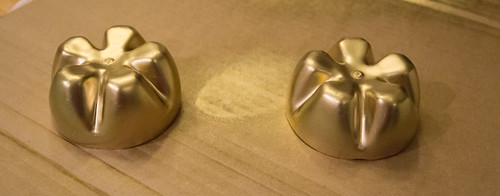
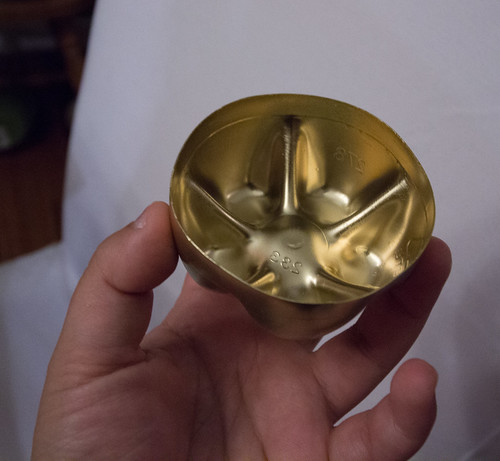
I am quite pleased with the details we managed to get in. I insisted she have ears and a tail because John’s larger k-9 replica still doesn’t have those details. Her tail is a functional USB wireless antenna, and John even inserted a proper usb port into her butt so it’s detachable when she gets packed for travel or so you can plug something else in easily while leaving the case closed. Her ears gave us a different kind of trouble, and we were running out of time until I started digging through the recycling bin and found a pair of 7-up bottle bottoms which I painted gold.

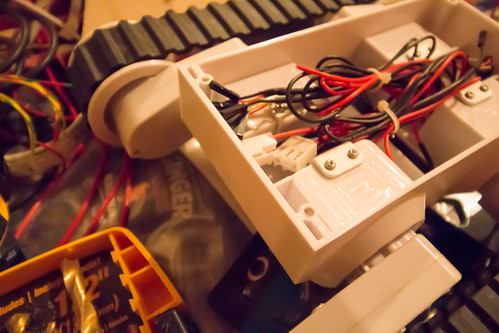
The computer on top there is the Minnowboard MAX, which will serve as Puppy’s brains. We didn’t get it mounted inside until after the show, and you can see the nice laser-cut mounting plate (again care of Quelab; thanks Morgan!) in front of her (it’s the smokey grey piece with all the holes). That’s all inside now, with a whole lot of hardware attached.

More pictures to come eventually, but since she’s gotten side-tracked by xmas present projects, it might be a while before we get back to her!

MicroView: the bad, the good, and the awesome

I backed this cute little thing on kickstarter called the Microview, which is basically a teensy arduino with an oled display attached. It was too adorable to pass up: I’ve wanted a little programmable necklace for a while, and this meant that project would be really easy to build.

My MicroView (Adorable Arduino with OLED display)

My MicroView (Adorable Arduino with OLED display)

I’ve been anxiously awaiting the arrival of the MicroView and it finally came today. So I popped open the instructions page and the first thing I see is a big apology. Uh oh…

So I check my email and sure enough, there’s an email about a big problem. Short version: they sent out a whole pile of units without bootloaders, so it runs the demo but won’t run any new code. Both of my MicroViews, it seems, are in the affected batches. More details here:

https://www.sparkfun.com/news/1575
https://www.kickstarter.com/projects/1516846343/microview-chip-sized-arduino-with-built-in-oled-di/posts/959475

So that’s disappointing, but they’re shipping out replacement units, and I suppose I can wait a bit longer to play. It’s not like I don’t have other toys to play with.

But here’s the super awesome news: it’s possible to dissect the unit and fix it!

So… with a bit of hacking, and assuming I don’t break anything, I may have double the number of MicroViews by the time this is done, and I’ll have had an excuse to dissect my new toys.

I’ve never been so pleased about receiving a defective product. 🙂

In the meantime, I guess I can play the tutorial game:

MicroView running the tutorial "game": Connect a jumper between pins 5 and 8

MicroView running the tutorial “game”: Connect a jumper between pins 5 and 8

My Little Robot

A number of weeks back, it occurred to me that as an adult with disposable income, I could buy a robot anytime I wanted to. So I did. Or rather, I bought a kit to build my own robot. I haven’t had as much time to play with as I’d like (the downside to being an adult with a job), but I’m hoping to take it out to Albuquerque Mini Maker Faire this weekend, so I’ve been experimenting with programs to show it off.

Here’s a video:

Cute, eh? That was just me making sure that the sensor “whiskers” work, but it’s kind of a convenient program because I don’t have to worry about it falling off the table. Right now, I know how to make it flash lights, move the wheels, and make noise with the little speaker on top, so either I should make a box for it to play in and teach it to do basic collision avoidance, or maybe work on a program where people can touch it and have it react, much like the one it’s running now. I’ve only got a couple of days to finish: Maker Faire is the 24th and 25th!