My kid decided he wanted to have a “meat hat” and after some consultation to figure out what he meant by that, it was determined that he wanted a green hat with some sort of meat pixel art on the hat, possibly inspired by Minecraft. He picked out the yarn in the spring, but it was already too warm for a hat so I didn’t get around to actually knitting it until fall. I got him to make some additional design guidance and handed him a pixel art editor for final designs, and this is what he drew:

He then clarified:
- The types of meat are steak, chicken and meatballs
- Each one could go on its own line but had to be repeated around the hat
Seems clear enough, although I’m still not sure what inspired the need for a meat hat. But he has outgrown his previous winter hat, so away we go! I can’t really imagine other people wanting to knit a meat hat so it feels a bit odd to document this as a pattern, but who knows maybe your kindergartener is also into meat?
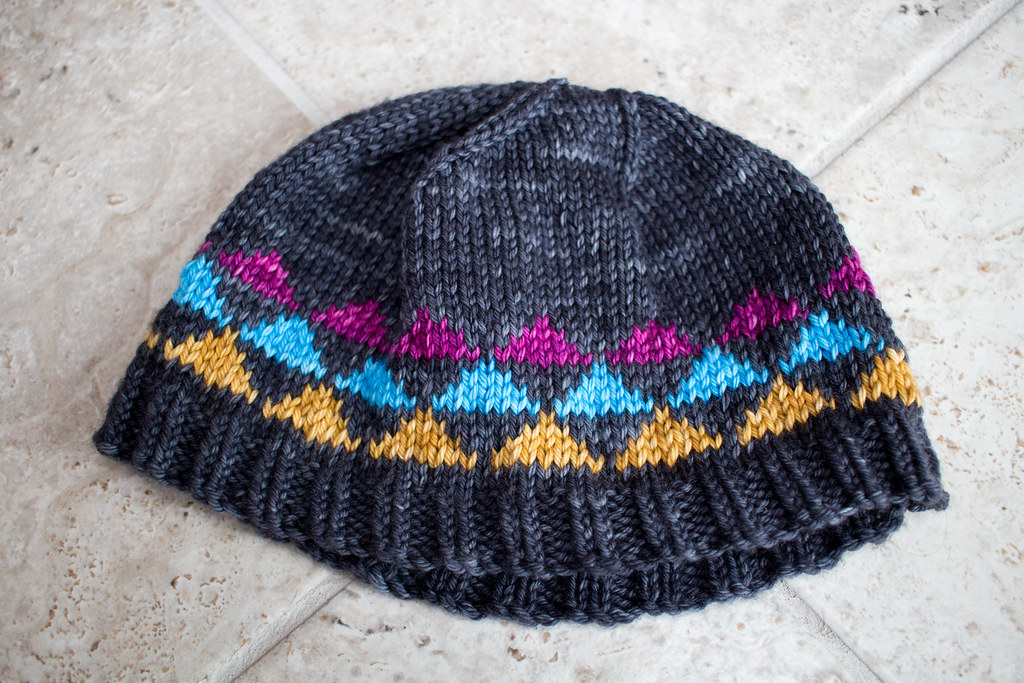
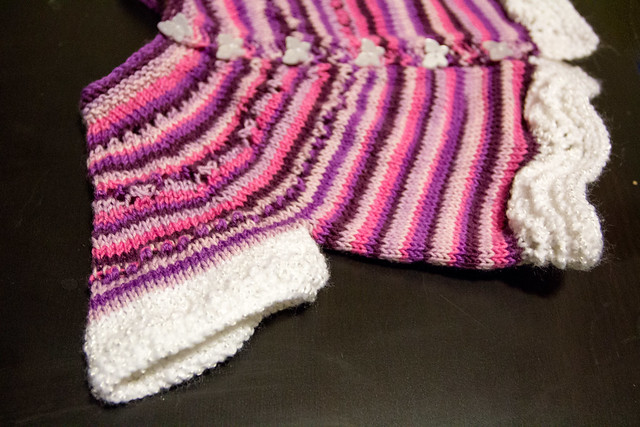
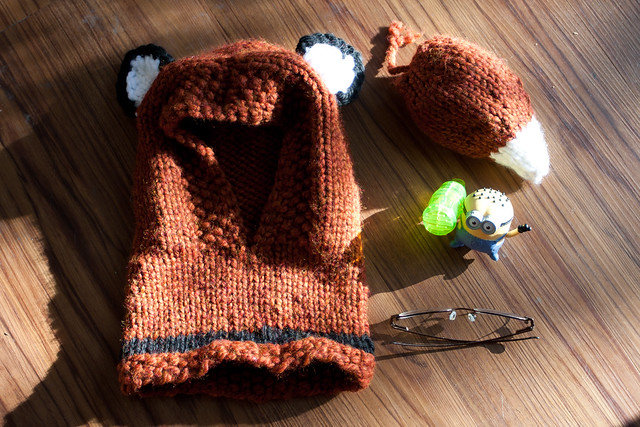
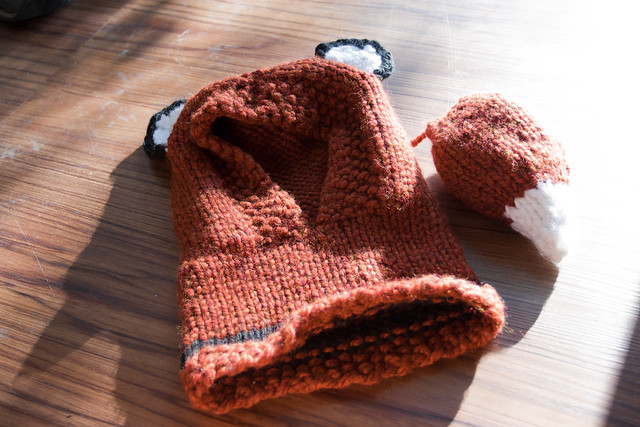
Spoilers: here’s what the actual hat looked like after we made it!

My kid’s head is 21″ which is basically an adult small. Yes, he has a huge head (and I had the stitches to show for it, thanks. And not the knitting kind of stitches!).
- I used the free Barley hat pattern from Tin Can Knits as a base to figure out sizing because it was free and I wanted to try out the new sizing in their app (which is pretty neat). If you need a different size, you could maybe use that to help you figure it out. The matching mitts are the kid’s size from the simple collection, also available in the app or their website.
- Sorry, I haven’t made a written or accessible version of this because I honestly can’t imagine anyone but me knitting it. There is alt text describing what’s in the charts for curious passers by, but no written instructions or higher contrast charts available, and my kid’s dark green and dark brown colour choices aren’t the easiest to read. If you do want an accessible version and you promise to actually try knitting it, ping me at terri(at)toybox.ca and I’ll see what I can do.
Yarn: Worsted weight. I used Dream in Colour Smooshy for the main green colour, Amano Yarns Warmi for the brown meat colour (the heathering really rocks for this) and Knitpicks Swish Worsted for the black and white bits. The contrast here isn’t as good as it could be, but that’s what happens when your kid picks the colours based on what feels nice in the yarn store. I’m not sad: these were lovely to knit with.
Needles: US6 for brim / US 8 for body. If your colourwork tends to be tight you probably want to go up at least one needle size for the colourwork. (I did not do this, but then had to stretch the hat a bit during blocking as a result.) There are some long floats here: this might be a good piece for practicing the ladder back jacquard technique if you want an excuse.
Brim
Cast on 84 stitches with smaller needs (US6 for me) in main colour (or a contrast colour, you do you!)
Ribbing Row: (Knit 2, purl 2) repeat around
Work ribbing row for around 1.5 inches or however long you want your brim to be.
Switch to larger needles (US8 for me)
Stockinette Row: knit around
Work stockinette row for 1.5 inches if you wish to have a folded up brim and don’t want the pattern to get hidden. If you don’t like a folded brim, you can just work 2 rows instead, but you’ll have to start decreases earlier in the hat colourwork (or enjoy a slouchier hat!)
Colourwork
Increase row: m1, knit around
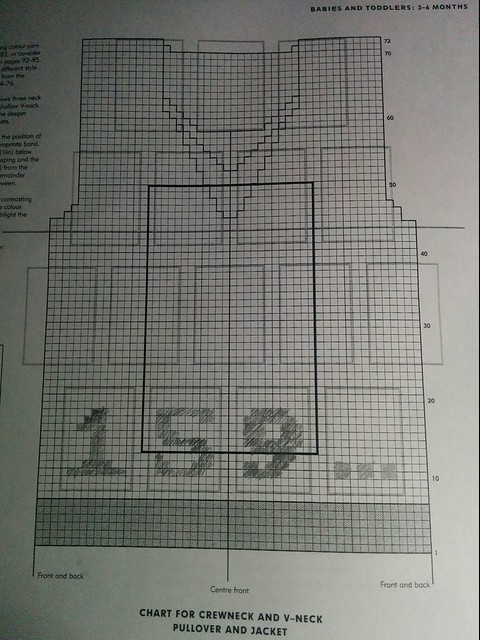
My pixel art program produces 16×16 sized images, but 84 doesn’t divide evenly into 16. However 17 is a multiple of 85, so I just added an increase in the first motif and repeated each steak motif 5 times. Technically my kid drew stuff with a lot of white space so if you’re really committed to 84 stitches for some reason you *could* trim his charts down to 12 stitches and make them fit. I just didn’t do this for the steak and chicken charts.
If you tend to have tight colourwork, you should go up another needle size here.
Follow steak chart for the motif, but I removed most of the green lines and kept only 2 between the steak and chicken.

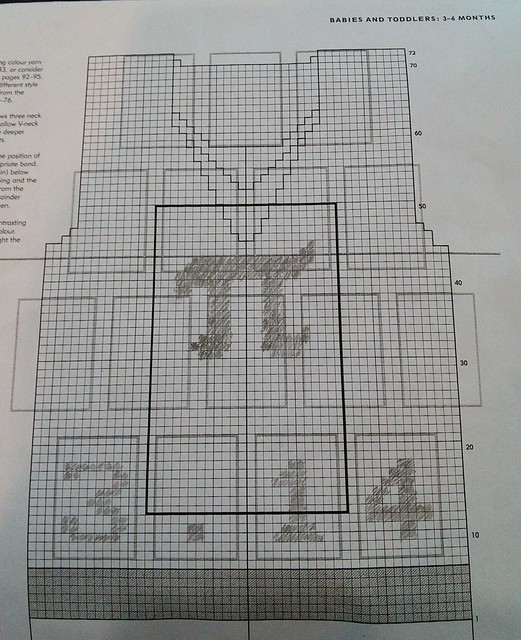
Follow chicken chart for the motif, skipping some green lines as you prefer. I moved my stitch markers so that the chicken lined up with the gaps in the previous chart. I kept 1 green row before starting the meatball chart and removed all the others. I personally did the top of the chicken and black bits as duplicate stitch because I was tired of carrying long floats, but you do whatever works for you. (if you took out more green columns the floats might not be so bad.)

At this point, I decided I wanted more meatballs, so I tucked a k2tog in the start of the meatball chart to go back down to 84 stitches and adjusted to a 14 stitch motif repeated 6 times instead.

Note that I needed to start crown decreases while I was in the midst of the meatball motif on the top meatball, so I just stuck them in between the meatballs (see below for decrease instructions)
If you went up a needle size for the colourwork, you can decrease again here.
Crown decreases
Once the motifs have reached around 6 inches you’ll need to start decreases:
Decrease row: (k12, k2tog) repeat around (6 times)
(Or if you’re still in the middle of a motif, work motif for 12 stitches then the decrease. )
Work decrease row then stockinette row for first 4 decreases, then work decrease row only until you have 6 stitches. Cut yarn leaving a 6 inch tail and weave through the final stitches then pull tight and tie closed. Weave in ends. Block.

And that’s the meat hat! Kiddo did indeed wear it this week when we had actual snow and cold, though I expect the hat won’t get much use since he’s pretty anti-hat unless it’s actually cold. It’s seldom below freezing here for more than a week per year . But it was fun to work on his design so I’m not sad even if it only gets worn a few times. He says he wants a rainbow sweater next!