I’m a bit overdue for a look at this year’s fiber goals. They were as follows:
- gift yarn
- lesser used crafts
- pants
- colour play
Gift yarn
I thought gift yarn would be an easy one, but I’ve hardly used any! When I started this goal I wrote down 5 skeins/sets in hopes of inspiring myself to make plans, but so far I’ve only used half of 1 of those, and the other skein I’ve got on the go wasn’t even on the list.
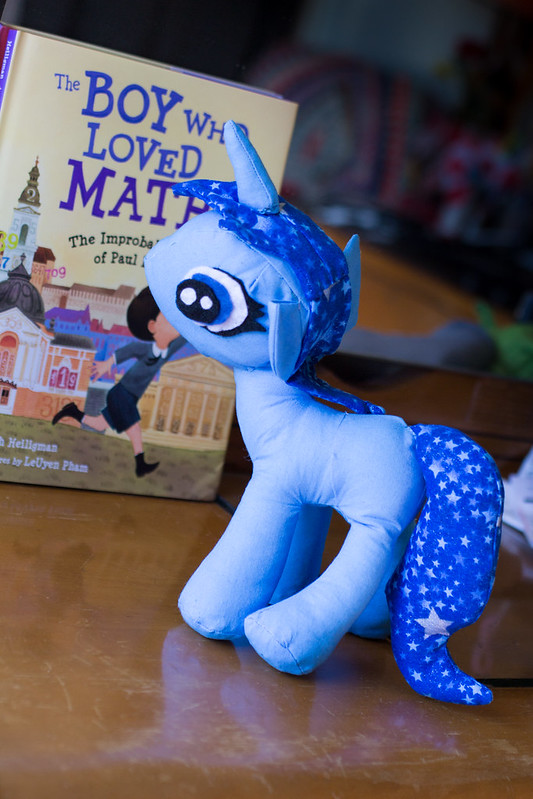
First up, my weaving in progress uses 1 skein gifted to me from my friend M in a canadian national park inspired colourway (it’s the lighter weft; the other two balls of blue are from a shopping trip with M but don’t count as gift yarn):

And here’s what I’m working on now. The shawl is from gifted yarn, a pretty “lighthouse” sock gradient from Blue Brick:

Not a *yarn* gift, but I found a fountain pen that was a gift in a drawer and finally got around to buying ink for it, and I’m hooked. More on that later.
Lesser used crafts
Lesser used crafts has been a pretty big success. I’ve rotated through the following things:
- January: Spinning (largely spindle spinning)
- February: Tatting
- March: Mending
- April: Weaving
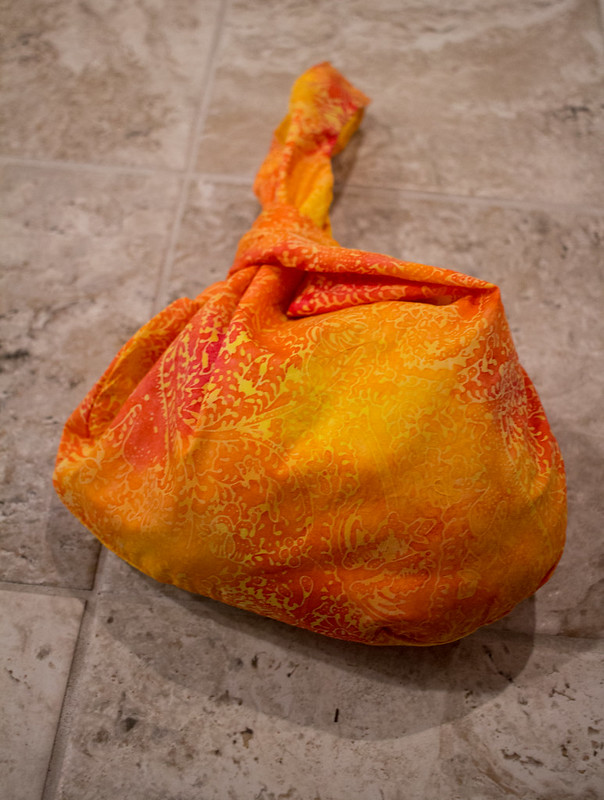
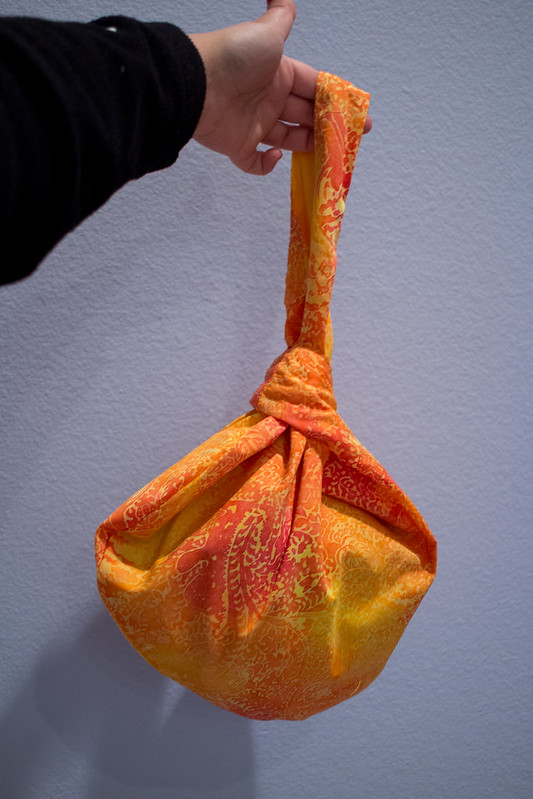
- May: Origami
- June: Pants (related to my next goal)
July was supposed to be embroidery month, but we’ve been traveling and I haven’t had much time, but I did have a huge blitz on long draw spinning so I might retroactively declare this long draw month and give embroidery a second shot.
Overall I feel like this goal is working for me: in pulling out different crafts and enjoying them again, and I’ve managed to keep my excess supply buying to a minimum. The time limit helps me keep moving on some projects that might otherwise get shelved. But it also feels like a month is too small for some things. I think I’ll stick to the monthly thing for the rest of the year but I will likely change it up if I want to keep this going past the end of 2024. The months are nice because they fit into when I look at my planner and stuff, but I’ll probably sometimes do two months of the same craft, or have a periodic “make up month” to go back and finish unfinished objects.
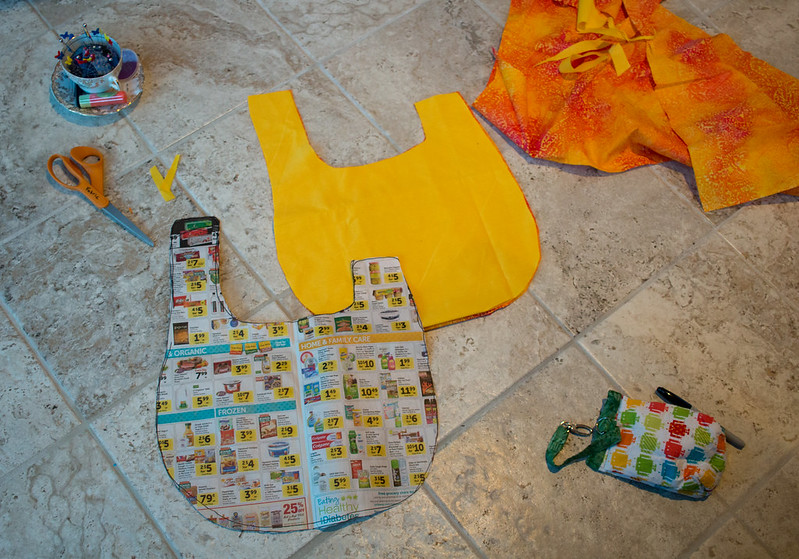
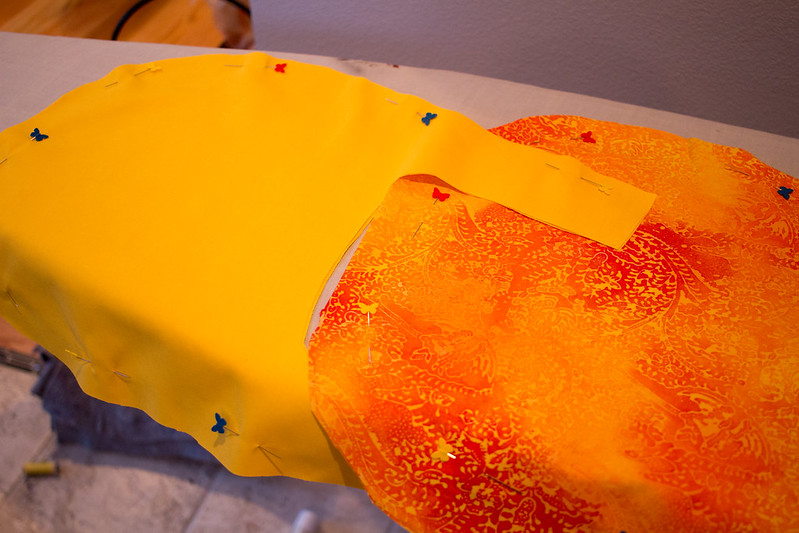
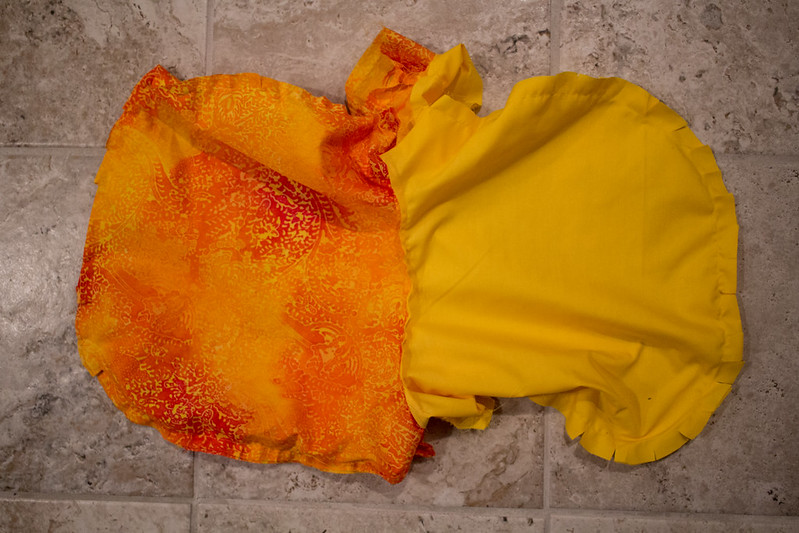
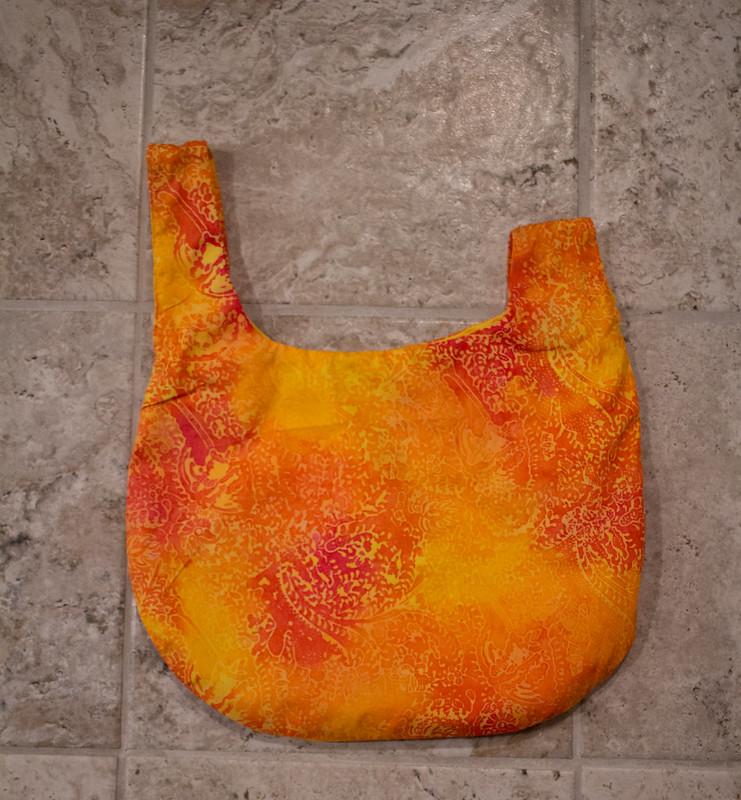
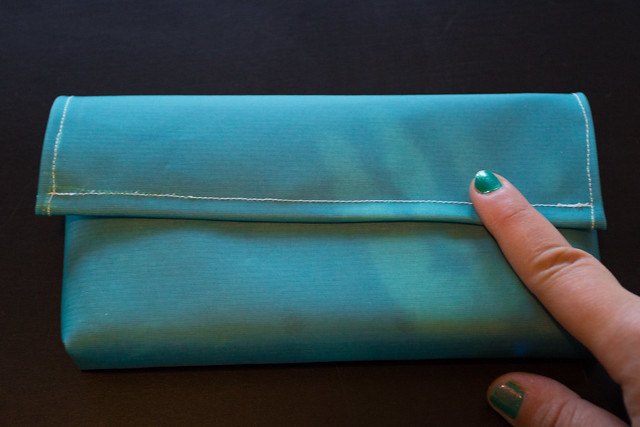
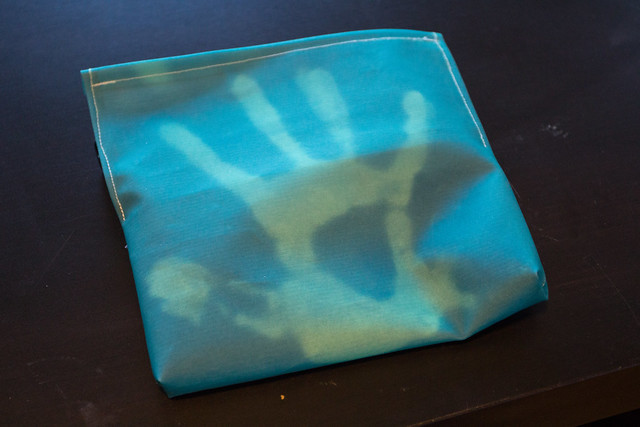
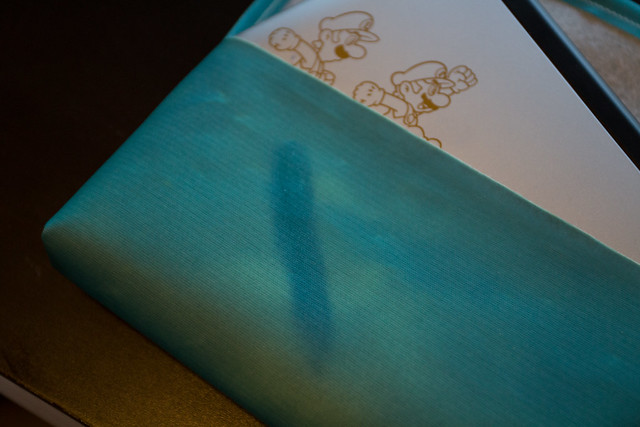
Pants
I made them! They are not great, mostly because it feels like I made a size too big but also because the pattern was designed to be looser than I think I want. But I learned a *lot* and I’m happy I did it! I think my next attempt will be some pj shorts since that’ll take less material. While I *could* iterate on this pattern until it’s perfect I think I’m going to try at least one other one to see if I can find a better starting point.

But I’m probably going to make another linen skirt or two before going back to pants, since that’s what I wear all the time now. I should probably make some in neutral colours for travel when I go with more of a “capsule wardrobe” than I do at home.
Colour Play
I took a dye class at Craft Emporium PDX!

And I’ve even knit one of the skeins into socks so I feel like I got a better sense of how the colour really worked.

I also had a lot of fun playing with Woolly Wormhead’s new short row stitch dictionary and my own rainbow handspun from last year’s Tour de Fleece.

I did a bit of colour play in this year’s tour de fleece, splitting up a braid to make a loosely gradient skein. Haven’t knit it up yet but it looks promising in the skein.

Less fibery, but I have been diving in to the world of cool fountain pen inks. I used to use a fountain pen back in high school to limit strain on body when I had tendonitis and couldn’t write very easily, but there’s a world of very pretty inks now and it’s pretty exciting! I guess paper has fiber, right?

I feel like I’ve made a good dent in this goal, but there’s still some dyeing experiments I wanted to try and maybe some fading and other knit colour combos I could fit in, so I don’t feel like I’m done yet, per se.
Overall
I’m about where I should be for halfway through the year, but I still have a lot of things I want to do, and I’m going to have to make a stronger effort to use gift yarn in the second half of the year.