Remember my simple hat post? It’s been done for a while now. The cloud helpfully made a collage out of my selfie attempts showcasing the finished object:

Easy Kitty Hat Collage
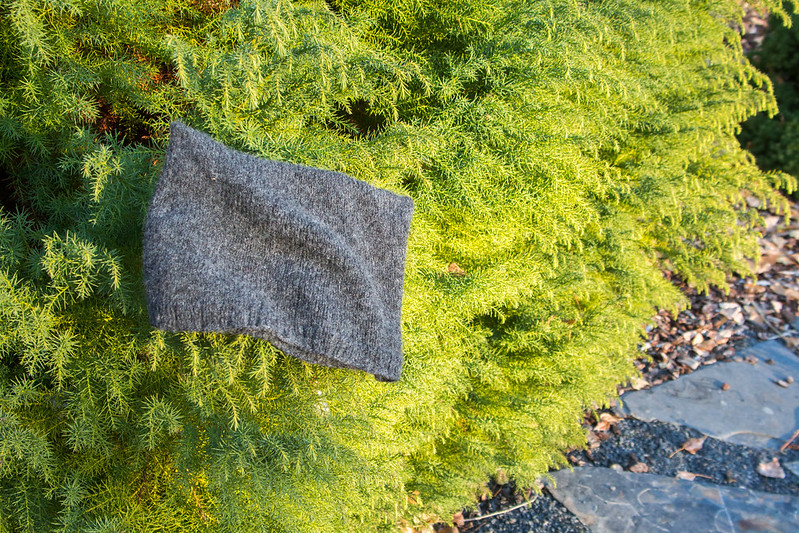
What’s fun about this hat is that it’s actually just a rectangular bag that you wear on your head. the “ears” aren’t built in at all, they’re an artifact of your head filling out everything except the corners of the bag, leaving you with “ears” made out of the corners. Here is it looking flat and hanging out on a tree in my backyard:
I put the pattern in the last post, but here it is a bit more fleshed out.
Pattern
Link to this pattern on Ravelry in case you want to add it to your queue!
Super short version of the pattern
1. Cast on 126 stitches and join in the round
2. { k2 p2 } repeat until you have around 1″ of brim
3. knit in stockinette for another 6″
4. Divide stitches evenly on two needles, (63 stitches on each) and graft closed with kitchener stitch.
That will get you a 21″ hat assuming a gauge of 6 sts/inch in your yarn. But if you want to use different yarn or have a different sized head, read on for more detailed instructions!
Yarn: Misti Tui from Misti Alpaca. Sport weight, chains of thin alpaca.
Any yarn would do, though, just do the calculation for your head circumference.
What’s the gauge? 6 st/inch on US 7 (4.5mm)
What’s my head circumference? Around 21 inches
Calculating…
Since I didn’t want much negative ease (i.e. stretch), that meant 21 inches x 6 stitches/inch = cast on 126 stitches
Brim ribbing (1 inch/2.5 cm): Cast on 126 stitches and join for knitting in the round
{k3, p1, k1, p1} repeat 21 times (or as many times as you have inches of head circumference)
Repeat brim rows until you reach an inch or so then switch to stockinette
Main hat (6 inches/15 cm): knit in stockinette (e.g. knit all stitches in the round) until hat measures a total of 7 inches (17.5cm), including the brim.
Finishing:
Arrange on two needles with equal numbers of stitches (63 for my hat) and graft using kitchener stitch.
Notes
This can be done with any yarn, although the ears may not look as ear-like in a really bulky one. Just do the calculations for your head circumference!
If I were doing this again, I’d do a simpler brim ribbing. You can’t really tell this from a k2p2 ribbing unless you’re looking for it.
I went the knit in the round + kitchener route because I like knitting in the round and having a seamless hat. If knitting in the round or kitchener stitch is not for you, you could knit flat and sew up the sides.
If you want, you could also put a few sewed stitches in to keep the ears in place. I actually like them as they are because they’re a bit moldable for expressiveness if I want to be more sad kitty. Or I can tuck them in so they don’t lay weirdly under my bike helmet.

Kitty Hat
Also, just for fun, here’s a picture of what the path down the side of my house looked like around when this hat was finished:

We’re a bit past fall and it’s now freezing every night and thawing every day. That hat still meets my needs! I *really* love this hat: it fits in my pocket or under my bike helmet. I’ve already bought myself yarn to make a backup copy because it’s so handy that I’m afraid I’ll misplace it!