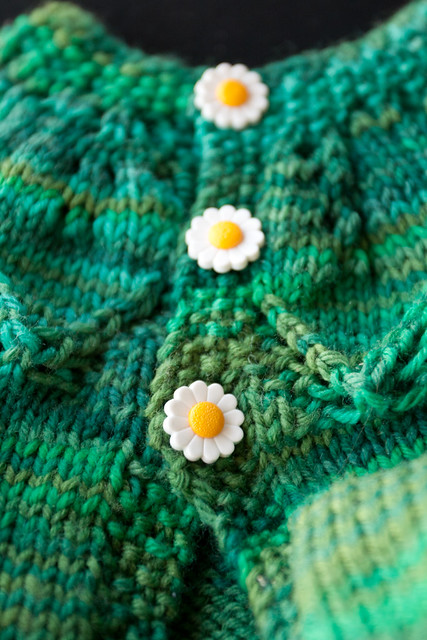
Pictures of knitting in sunlight (a work in progress)

I don’t tend to share work-in-progress shots for a few reasons:

1. I knit a lot on the go, where it’s not too convenient to take pictures.
2. I am really really bad at processing all my photos, and more of them just adds to the laod.
3. I just don’t think of it.

But I did think of it today, and it’s gotten me thinking a bit about useful general photography tips I need to remember when knitting:

Knit photography : Be careful of focus and depth of field

I love small depths of field in general photography and beautiful bokeh (aka the blurry bits) and all, but when taking pictures of my knitting, I need to make sure that the focus is where I want to be, and covers enough of the area around where I’m trying to draw the eye:
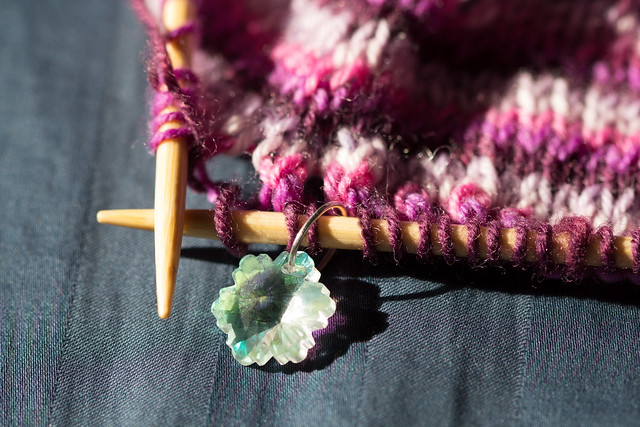
My very sparkly stitch marker

So here, I’m taking a picture of my pretty little stitch marker, and I’ve only left a small row of knitting in focus.

Since this is a maker blog, I’ll say that I made the stitch marker myself, for values of “made” that include “I bought a bunch of beads that had rings through them and separated them then re-closed the circles.” My project *sparkles* in the sun right now thanks to the beads, which is fun when I’m actually knitting in the sunbeam.

The narrow depth of field actually works well for something that small, but when I’m showing a series of stitches, I have to remember to adjust my photography style so that people can see the stitches well.

That can mean making sure the section is really flat:
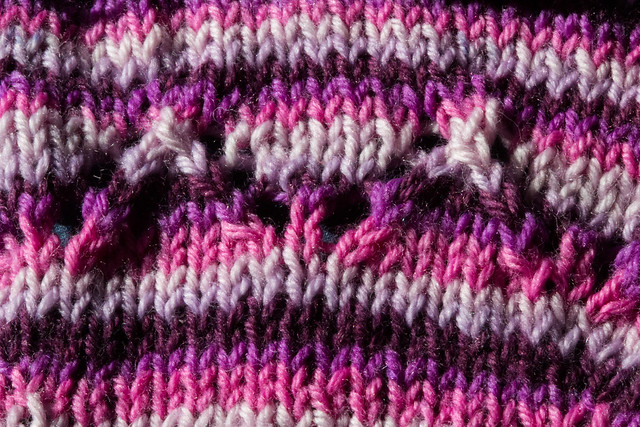
Triangle lace stitch thing

Or it can mean just making sure the depth of field is big enough for the area in question:
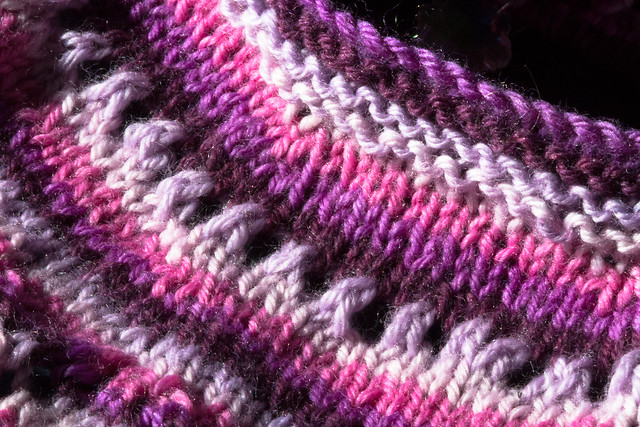
Sweater Neckline with simple lace holes

Knit photography #2: Yarn has weird light properties
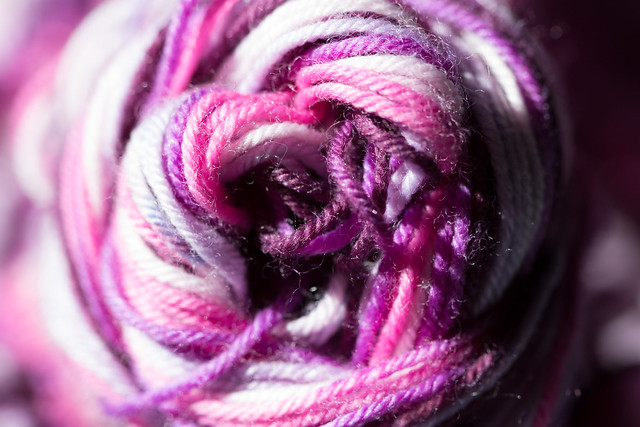
Colour Whorl

When you look up close at yarn, you can usually see that it’s at least a little bit fuzzy. This helps make it warm and soft, but also means it has some weird light properties where it will seriously glow given enough light. This can be awesome, or it can be really irritating, but the important thing to remember is that photographing knit/crocheted fabrics in bright light can be challenging in different ways, and each yarn is going to be a little different.

The extreme contrast isn’t always a bad thing: it can help you showcase lace. In theory. In reality, I always seem to end up with hyper-real photos, or ones with huge dark patches that just don’t look right:
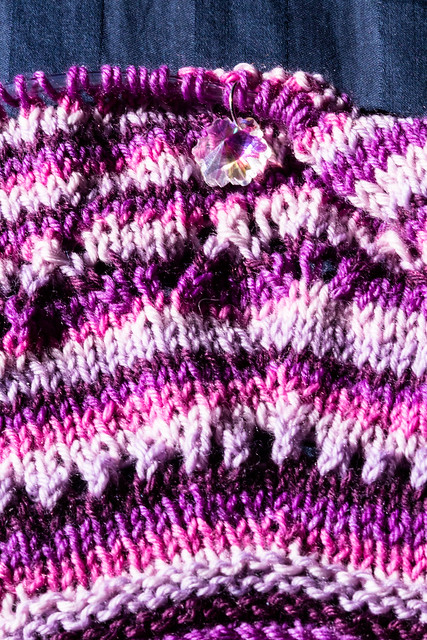
Trying (and failing) to showcase some lace

And the sun is pretty bright already, so even if the yarn didn’t pick up the light so well, it could be a mess:
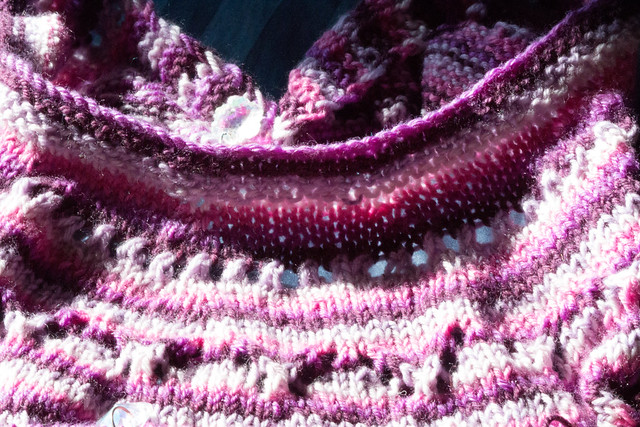
Demonstration of knitting photography in the sun and why it can be challenging

You can fix these things, of course, with some messing around in lightroom/photoshop, but then you lose out using the extreme contrast to show stitch definition, and you can make the project look a little dull:
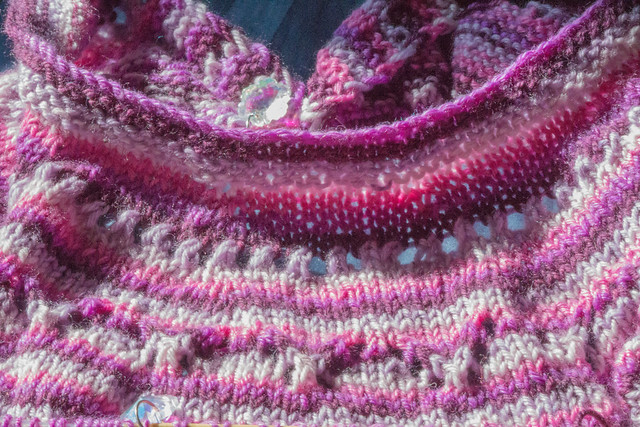
Demonstration of knitting photography in the sun and why it can be challenging (2)

I suspect it’s going to take a lot more experimentation before I can quickly snap off a few photos in sunlight! But for now, I’ll be thinking critically about what I do and practicing doing it until I feel like I’ve got the kind of photos I want for matching with my patterns.

And with that, I give you one more photo where I’m proud of the light. This one showcases the rainbow nature of my stitch markers:

Rainbow stitch marker

So pretty!

Vampire Sleeves (sort of a shrug?)

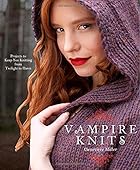
I was out shopping one day with a friend and saw this book:

Vampire Knits: Projects to Keep You Knitting…
Vampire Knits: Projects to Keep You Knitting from Twilight to Dawn
by Genevieve Miller

I didn’t buy it right then, because I didn’t know how to knit and wasn’t sure what I’d do with it, but apparently it stuck with me because I picked it up later thinking I’d give it as a present or something… but then I learned to knit. So now it’s mine, all mine!

I’m not much for making full sweaters yet, because I’ve learned that projects that don’t fit in my purse never get finished. But I figured a pair of sleeves wouldn’t be too bad… but it still took me a year to finish them because I kept getting sidetracked by other things I had to try.

I just call mine vampire sleeves because of the book they came from, even though they don’t look very vampire-y in the colour I chose!

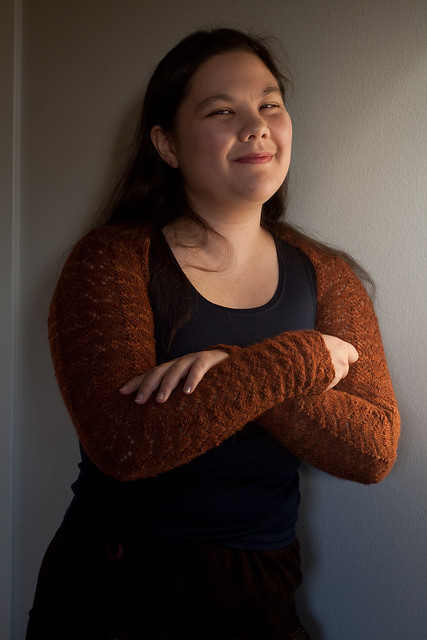
Here I am, smugly showing them off:
Vampire sleeves

One of my pet peeves in clothes is having them too snug across the shoulders, so I’m pleased to report that the lace here is pleasantly stretchy:

Vampire sleeves

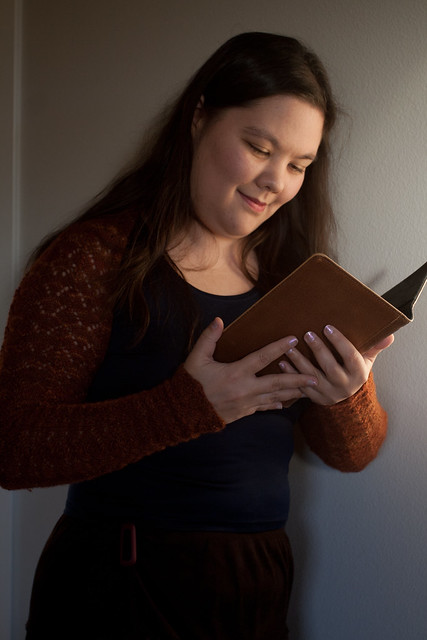
The only problem with them is that the lovely autumn browns I chose don’t really match a whole lot of my clothing. They look good with the dark blues and blacks, but not so much with the reds I don’t think and definitely not with anything that has pink tones. When I was looking for something to wear with them for these photos, I was amused to discover that they mostly matched my ereader cover:

Vampire sleeves

My favourite part is the yarn. It was Shimmer hand-dyed lace yarn from Knitpicks, which I’ve only just found out was discontinued. Sadness! It was such a joy to knit with.

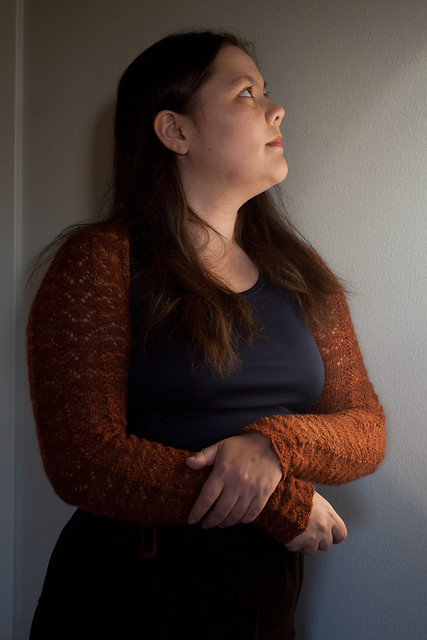
The pattern is relatively simple, well-written, and the photography is lovely. It really is just a pair of sleeves, opened up at the back and grafted together. I do like that the lace pattern causes the ends of the sleeves to be a little wavy:

Vampire sleeves

Pattern: Sidhe Shrug by Ashley Fay.

Warthog9’s blue gloves

John and I have been playing an augmented reality game called Ingress for some time. The reason this is relevant to this post is twofold:

1. We spend a lot of time walking around outside in the cold using our smart phones
2. We’re on the blue team.

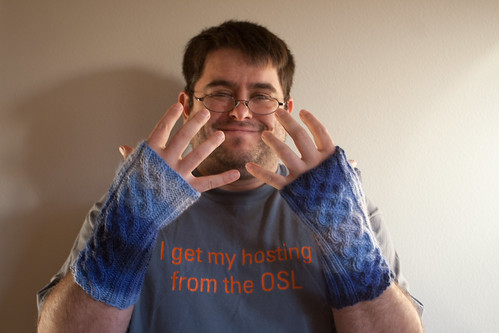
I have some lovely purple gloves I made myself ages ago that I use for being out and about, but John couldn’t find his “hobo gloves” (aka smoker’s gloves, aka convertible mitt-glove things) in the chaos of our move, so I set about making him some new ones. Of course, he totally found the hobo gloves before I finished (by *hours* I might add. I was so close!) but in the rainy northwest, I expect having more than one set of gloves is advised.

John's blue gloves

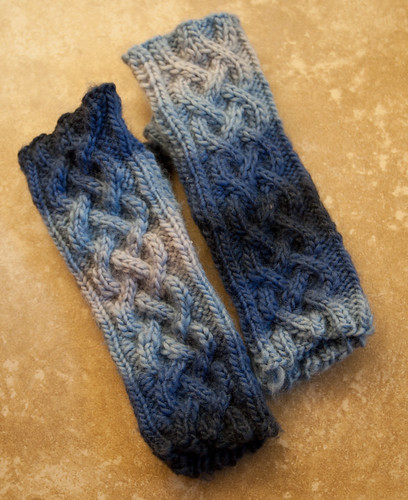
The pattern is Twisty Sister Cabled Handwarmers
by Kate Gondwana
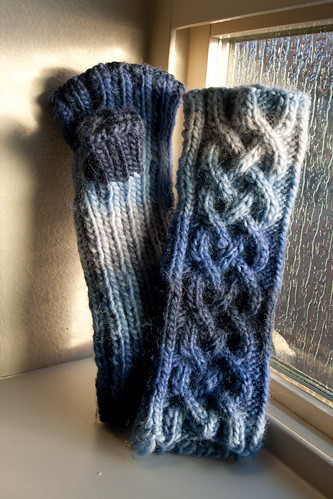
. I was drawn to the nice cable pattern on the back:

John's blue gloves

Since John has wide but not very long hands and likely would just be annoyed by longer gloves going well under his long coat sleeves, I used the “large” size guidelines but took out a repeat so that they’re a bit shorter, as recommended in the pattern as a way to adjust. Horray for well-written patterns! I particularly liked that this one had both charts *and* written instructions, as while I prefer charts sometimes I find it easier to understand the written if I’m not sure where something should start.

John's blue gloves

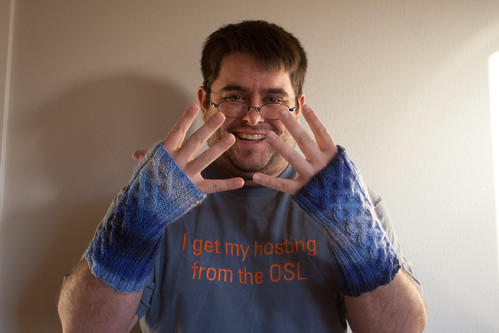
And finally, since someone complained that I didn’t have any pictures of people wearing the fox hat of my last post, here’s a few more pictures of John:

In this one, he is telling me that I need to photoshop in some Wolverine claws for appropriate effect. I leave this as an exercise to the reader.
John's blue gloves

And in this one, I think he looks amazed that he has fingers. Let it never be said that he’s too jaded to enjoy the mysteries of the universe!
John's blue gloves

PS – In case you were also wondering about the dearth of baby photos in the last post (a) the hat was waaaaay too big so I don’t think she’ll be trying it on for a while yet unless daddy decides hilarious oversized hat would make for adorable photos (b) baby V’s parents have been sharing photos of her with select family and friends, not the entire internet, so there may not be photos of her available to the rest of you even when she grows into it, unless she grows up to want to share them herself much much later. Sorry! My sister put on the hat (to see if it really fit a small adult) and says if we find that photo I can put that up instead.

Little Fox Tail

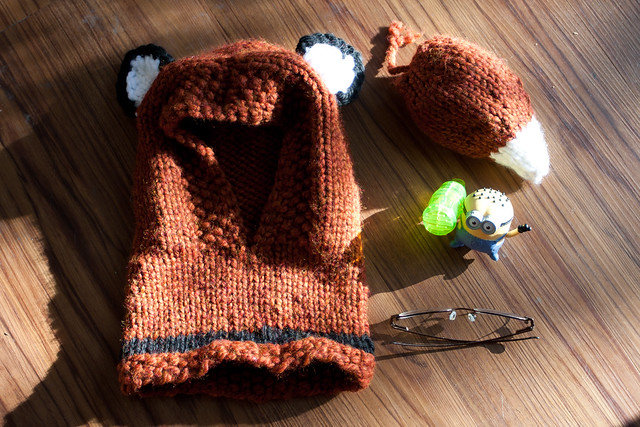
When my friend K announced that he and his wife were expecting their first child, I threatened to make an inordinate number of animal hats for the kid. The first of these turned out to be a Failynn Fox Cowl, which while adorable, is also much too big for a newborn no matter what the pattern said. See the picture? Those are my full-sized adult glasses. In a pinch, I could wear this hat, and while I’m a smaller adult, I’m not that tiny.

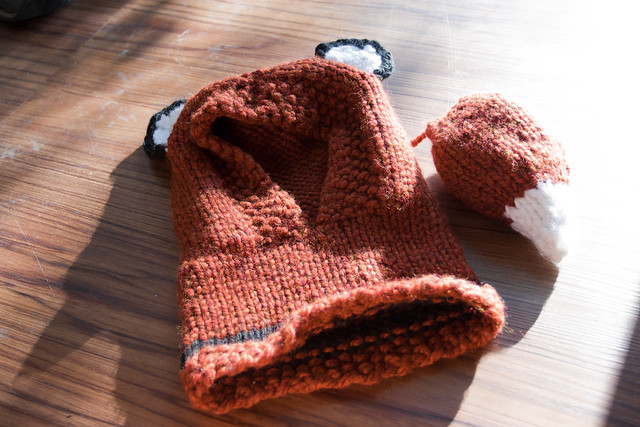
Failynn Fox Cowl + Fox Tail

In for a penny in for a pound: I figured if it wasn’t going to be a newborn sized present, I should make it more toddler-friendly an add a tail so it could be more of a costume. Unfortunately, there weren’t any tail patterns around that matched what I wanted, so I had to make my own.

Toddler Friendly Tail

Little Fox Tail

– Extra Bulky Yarn in two colours (I used orange and white)
– 9mm needles, either two circulars or a set of DPNs

Row 0: Cast on 16 and join ends, being careful not to twist
(I cast 8 on each circular, but whatever works for you.)
Row 1-2: k16 (all the way around)
3: {k1, increase, k3} 4 times (20)
4: k20 (all the way around)
5: {k1, increase, k2} 6 times, k2 (26)
6-11: k26 (all the way around)
12: {k2tog, k3} 6 times, k2 (22)
13: k26 (all the way around)
14: {k2tog, k9} 2 times (20)
15: k20 (all the way around)
16 {k2tog, k4} 4 times (16)
17: Change to second colour (white in my case), k16
18: {k2tog, k3} 4 times (12)
19: k12
20: {k2tog, k2} 4 times (8)
21: k8
22: {k2tog, k1} 4 times (4)
tie off to make a nice little point on the tail

I also made a seed stitch belt to attach the tail to, but for some reason I never took a picture of that. It’ll be a while before baby V gets big enough to want to play with this, but hopefully it’ll be fun when she grows into it!

Failynn Fox Cowl + Toddler Tail

Leafy sweater for Baby O’Byrne

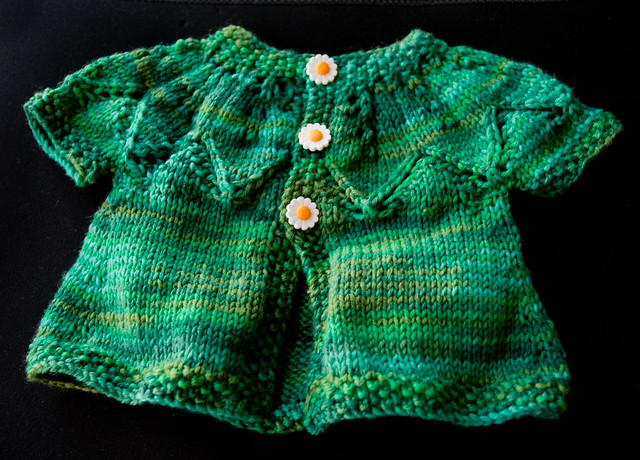
This little leafy sweater is a present for Baby O’Byrne, whose name is a secret until she makes it out into the world. She was due a few days ago as I’m writing this; I’m just waiting for the announcement of her arrival! I’ve scheduled this post to go up on May 31st, and we’ll see if she comes out before it does.

IMG_9431

I’ve been friends with Baby O’Byrne’s dad for a long time, so this sweater was made with him in mind. Ken and I have spent a great many hours hiking and camping together, so I had bought some variagated green yarn and when I saw this pattern in a book at the library, I figured I had a match.

IMG_9430

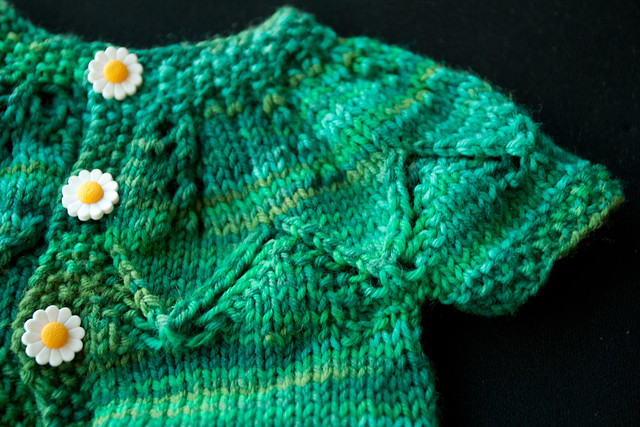
The little details of the pattern are what drew me in. I really like the leafy motif and the little seed-stitch edging is not only cute, but keeps the piece from curling up too much at the edges. Clever! And speaking of details, aren’t those buttons adorable? I bought them originally for a project of my own and had enough left over for the sweater. Here’s a close up:

IMG_9433

This isn’t the only piece I’ve made for her, but I forgot to take photos before packaging the rest up in time for the baby shower. (This one wasn’t ready in time so got sent later.) Oops! Her dad has a new camera, though, so maybe he’ll have time to take pictures of her wearing the two hats and two sets of booties I sent along before this sweater was finished. We’ll see how co-operative she is, though!

The Pattern:

Autumn Leaves by Nikki Van De Car from “What to Knit When You’re Expecting.” I really liked the book and will probably be buying my own copy rather than monopolize the library one again!

Knitted Finger Moustache

Today’s project does double-duty as both a knitting project and a photo assignment: a knitted finger moustache and a self portrait for Active Assignment Weekly.

Knitted Finger Moustache Triptych

Taken for AAW: 20 – 27 May: You look Marvelous (and Ravelry)

I found this project on Ravelry late one evening when I was trying to find errata for another pattern which was totally not working for me, and this seemed like the perfect antidote to the frustration. I was debating doing some photos with some inanimate objects like the link above shows, but I happened to check AAW and noticed today’s deadline on the self-portrait assignment for this week hadn’t hit yet, so… self-portrait time!

This being a self portrait assignment that I had an hour and a half to shoot, process and submit, it’s sans-makeup or even a hairbrush. That’s pretty much me on a lazy holiday Monday anyhow — silly knitting project, a camera, a book, and a computer.

What it took (photo-wise):

These are pretty much straight out of camera aside from stitching them together for a triptych, although I admit to photoshopping the scratch on my forehead and removing a stray hair that looked weird. I didn’t plan for a triptych or the eye thing, these just happened to be among the best of my “let’s goof off with my silly knitting project in front of my camera with a remote” shots.

Things I learned:

– Putting all the photos on one layer, moving them around, then doing image->reveal all in photoshop makes triptyches *waaaay* easier. No more figuring out canvas size!
– you can resize just one layer by using ^T in photoshop, just don’t forget to tell it when you’re done or it acts all locked.

The knitting pattern:

It’s a moustache, for your fingers! by Megan Death (It’s free!)