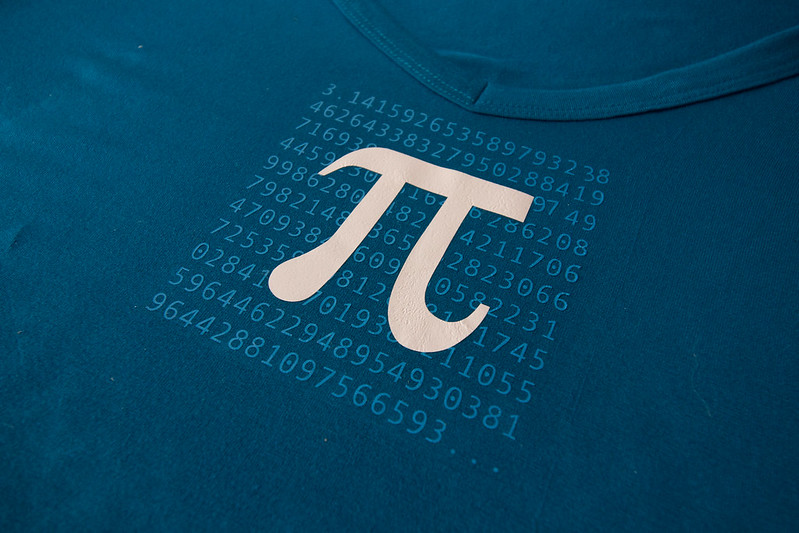
I designed this shirt for my sister as part of a belated pi day present:
This was done using my Roboknife (also known as a Silhouette Portrait Craft Cutter, but that’s way too much of a mouthful to talk about my robotic knife. Well, okay, it’s more of a scalpel, but whatever.) and two colours of heat transfer vinyl (HTV). This is surprisingly nice stuff to work with, once you get the cut settings right on your roboknife.
Here’s the pi day t-shirt .studio3 file. There’s been updates to the silhouette cutting software since this was created, but hopefully it’ll still work.
When you open it up, you should see two pieces in there, reversed because of the way HTV is applied:

View of the pi day shirt pattern in silhouette studio: on the left is digits of pi with a pi-symbol hole in the centre. On the right is the corresponding pi symbol as a separate piece. Both are reversed because they are intended for heat transfer vinyl, which applies backwards.
I basically grabbed the first hundred digits of pi, made a nice block out of them, then used the pi symbol to cut a hole so that I wouldn’t be layering things that wouldn’t be seen in the final design. (This tutorial on layering HTV is very helpful if you don’t know what I’m talking about.) If I were going to make this design, I would use a thicker font for the background part, and one that was easier to weed. This looks lovely but it was a pain to pull out the little centres, especially those 0’s with the dots that had to be left behind!
Plus, after all that work I’m worried that eventually the lettering will come off in the dryer. My sister says she’s been a bit afraid to wear it and decided to save it for when it would be seen by people who’d appreciate it, and I can’t blame her!