I made myself an “art project” on Instagram, so I’m cutting and pasting here because I want a copy of my own data. This was supposed to go out the same week I posted the pictures, but I accidentally locked myself out of the web server with the WordPress app and then we all got the plague. I’m scheduling this for later… In fact, I’ve already finished one of these projects since this was written!

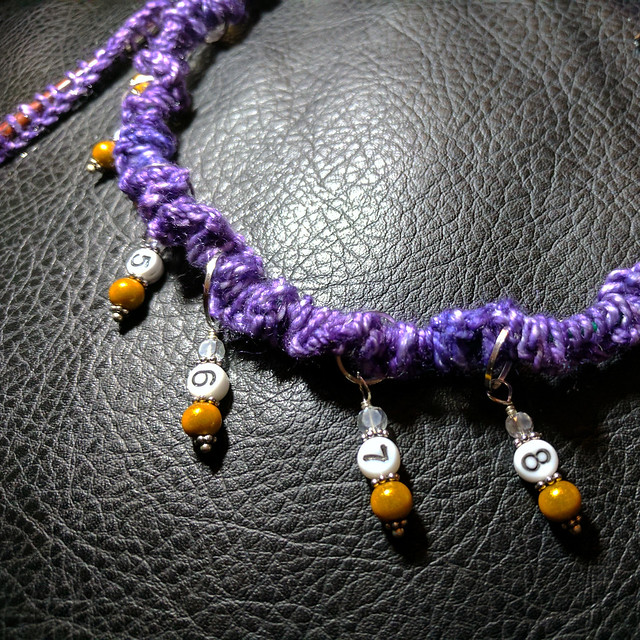
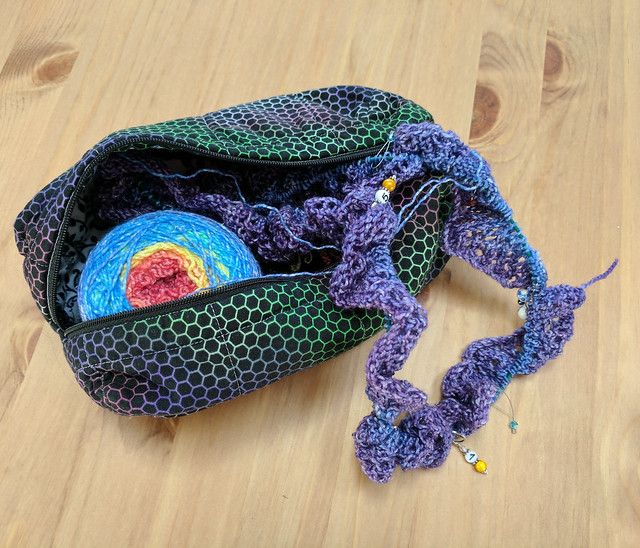
Work in progress week! I’ve got an unusually high number of projects on the go so I’m going to try to document them (as part of my “document better” fiber resolution for this year). This is my unfinished @littleboxofcrochet advent calendar. I knew when I got it that it wouldn’t be finished in 2018 because of travel in December and I’m looking forwards to using these as palette cleansers between bigger projects this year.

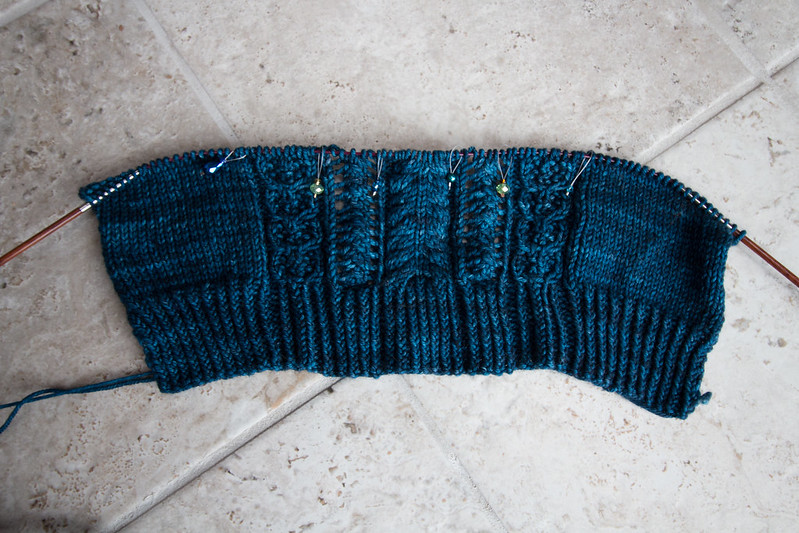
Work in progress week: day 2. My current project, the @rosecityyarncrawl #mkal . Clue 4 just came out so I’m very behind: this is clue 1! I’ve done a few rows since then but missed both my usual knit groups this week so progress is slow.

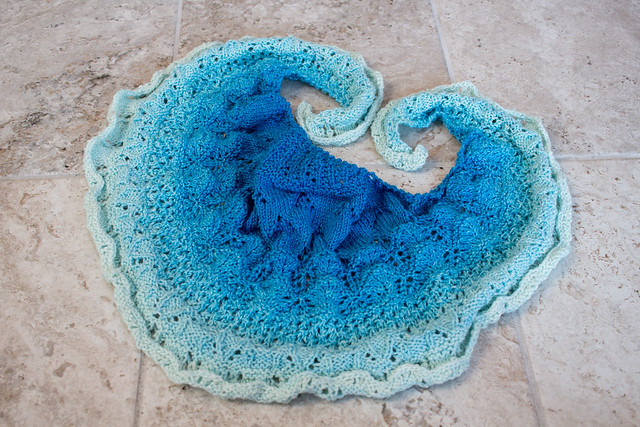
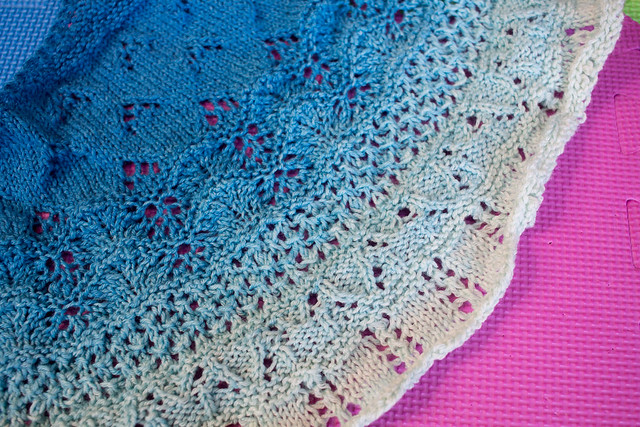
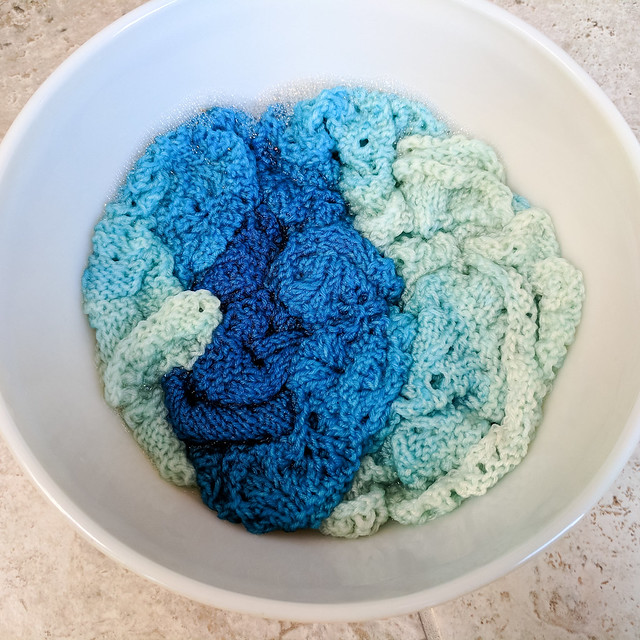
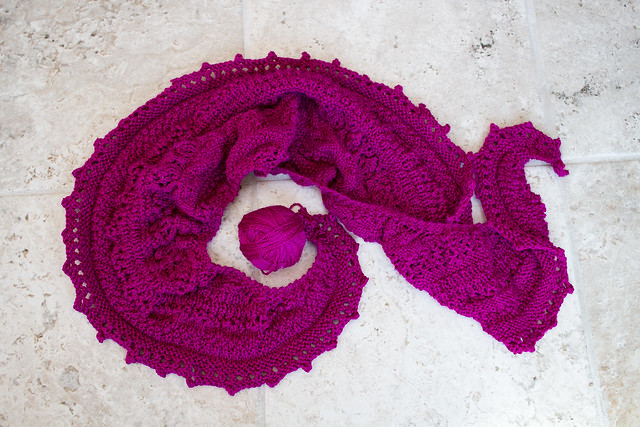
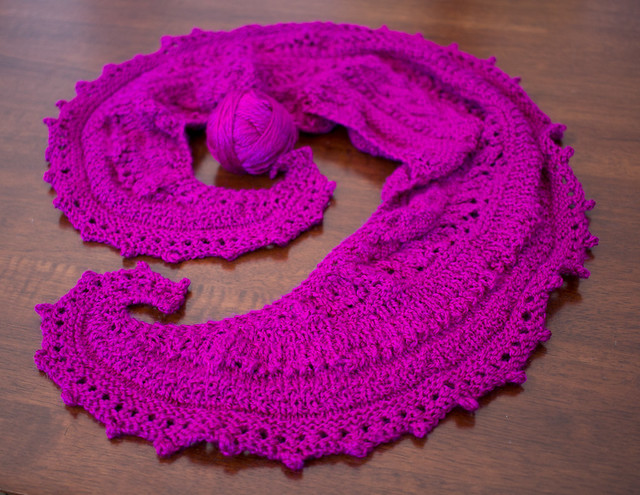
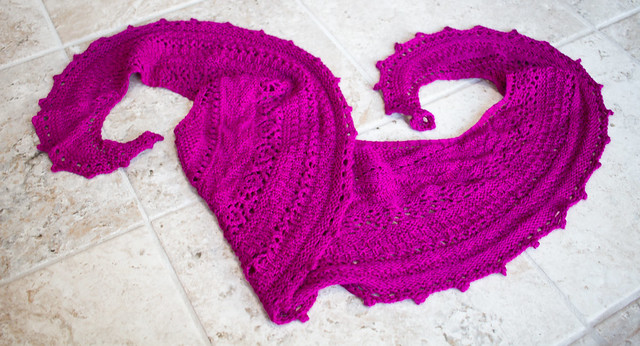
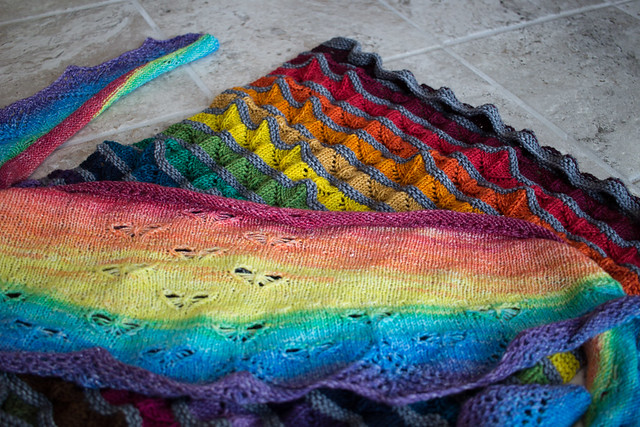
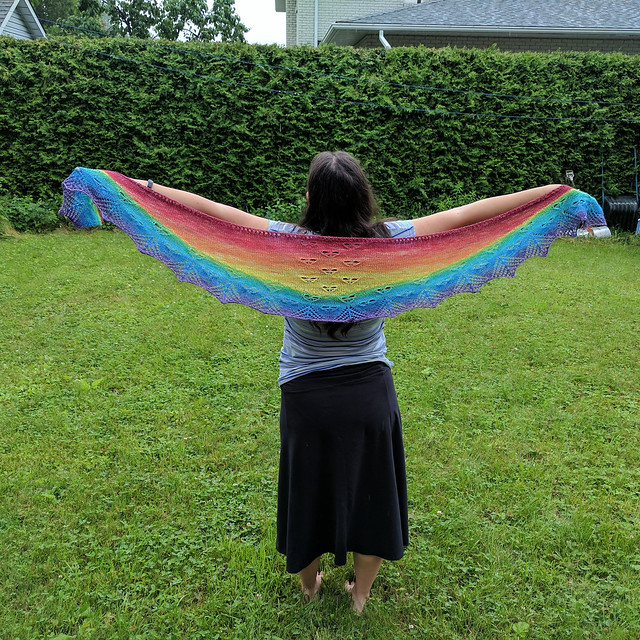
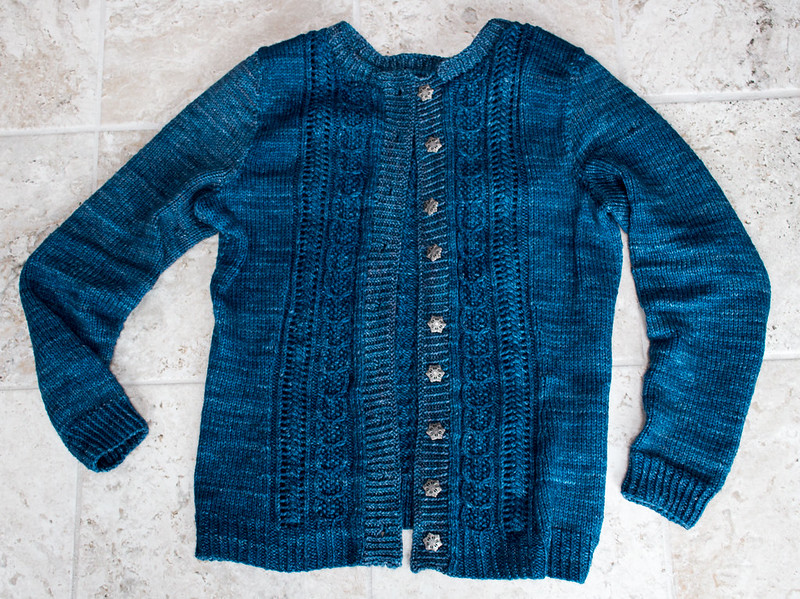
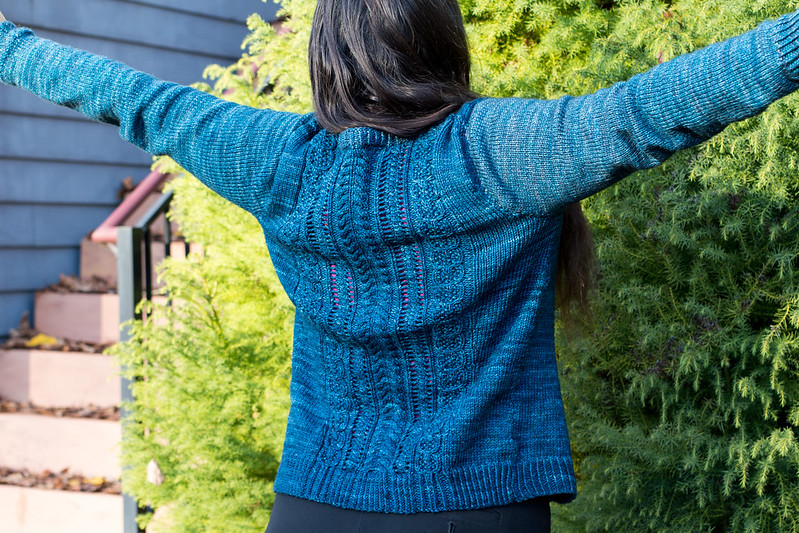
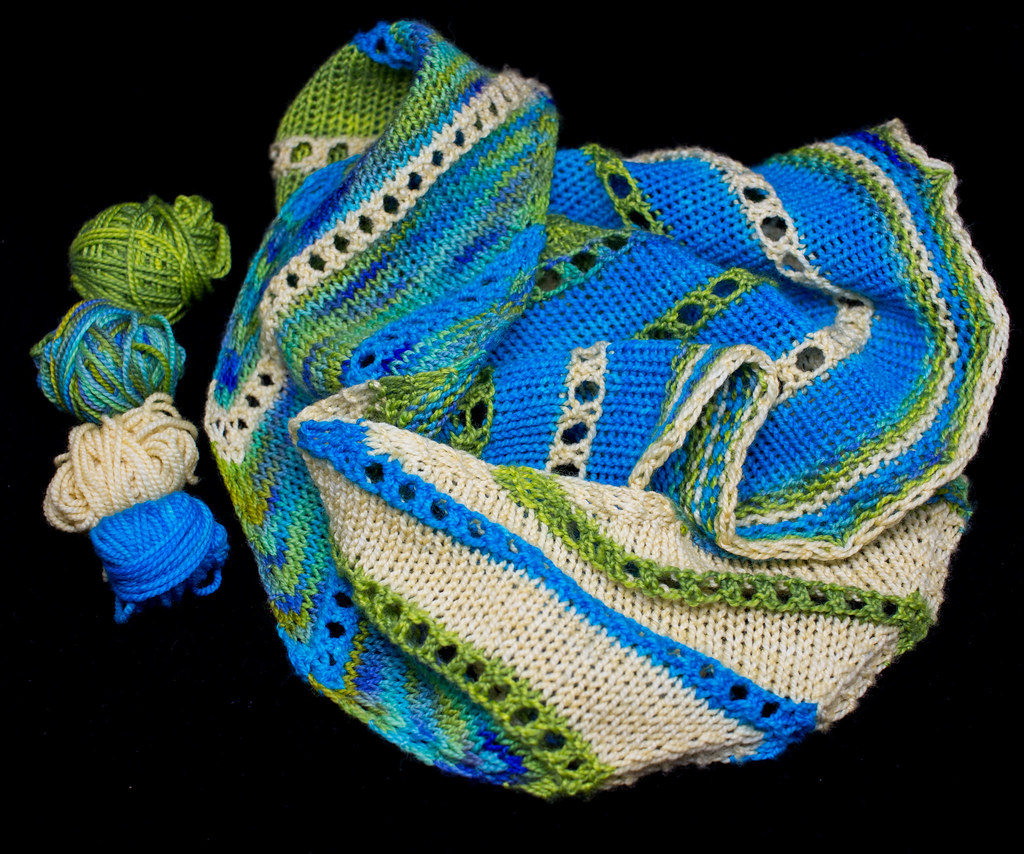
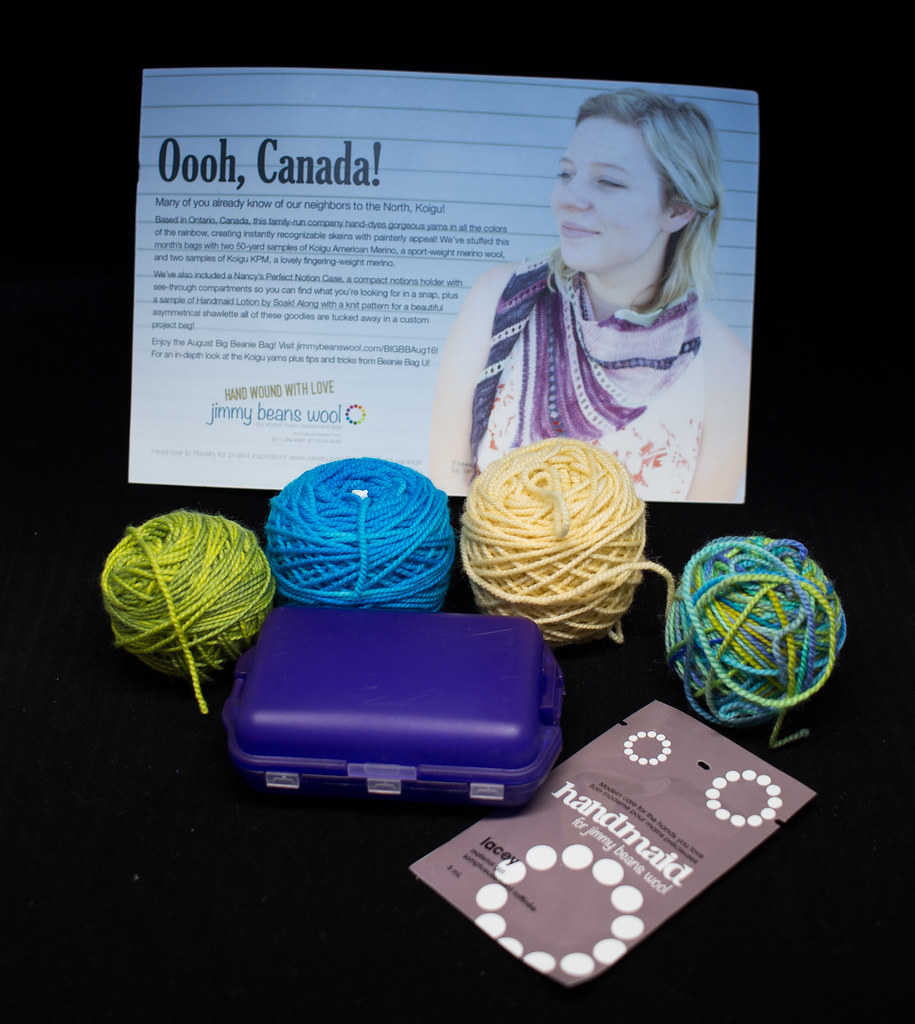
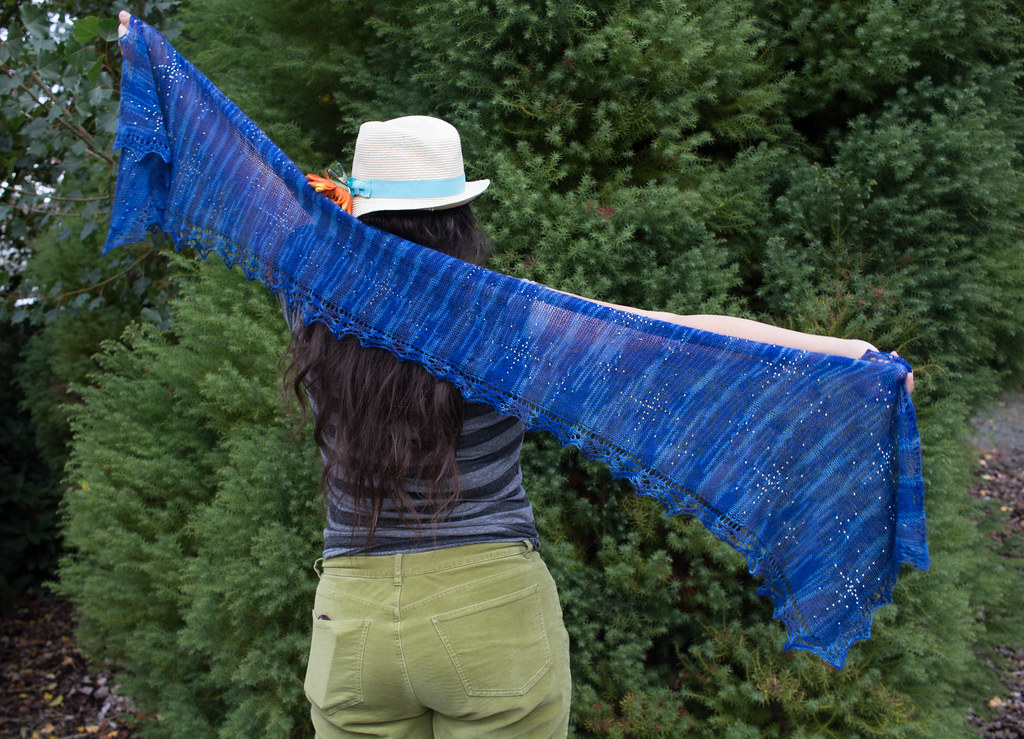
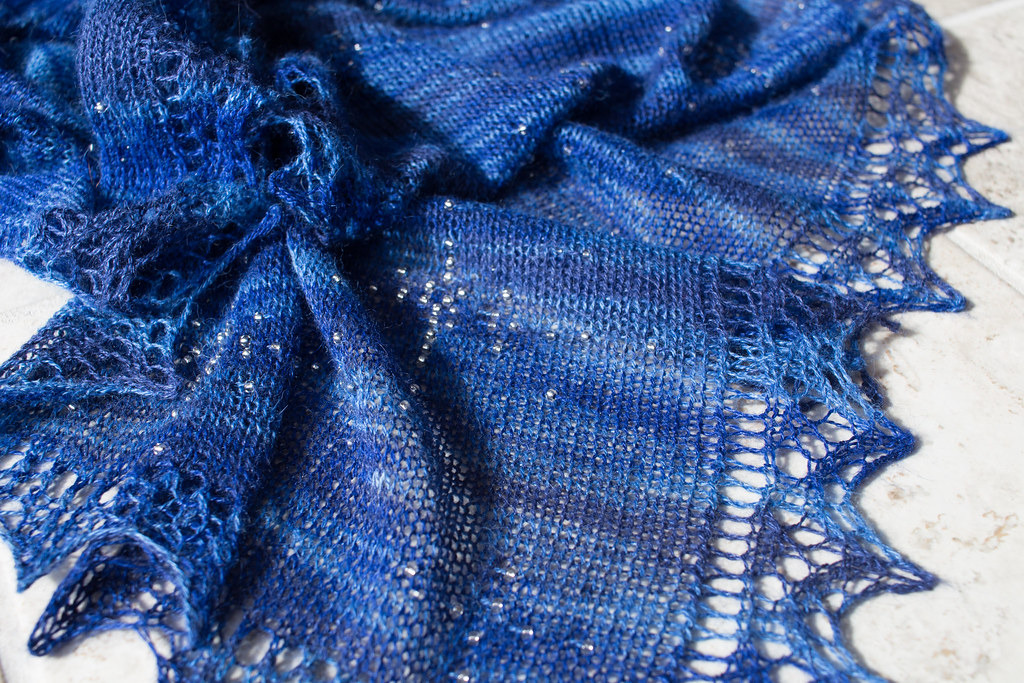
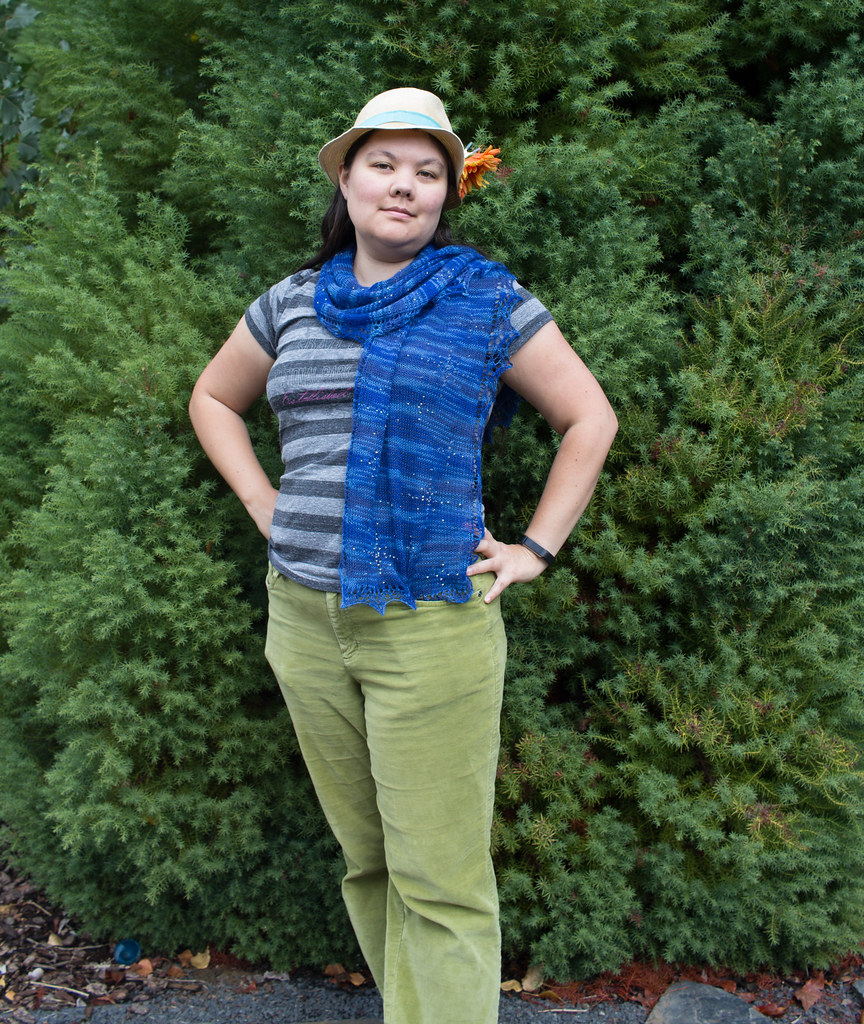
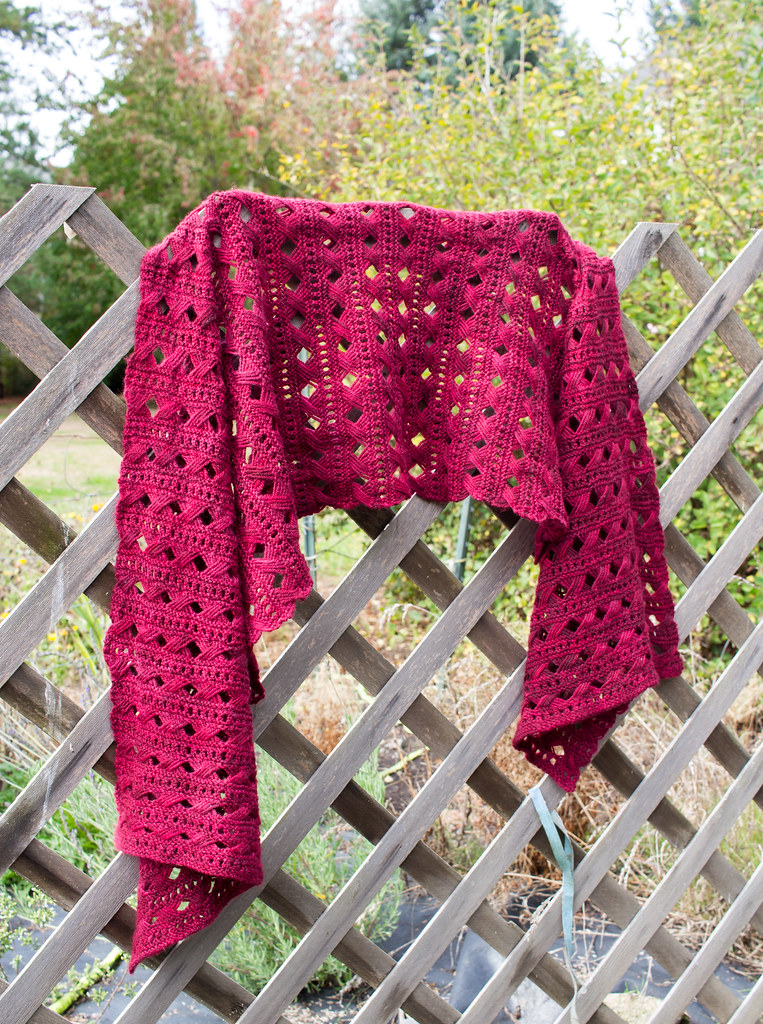
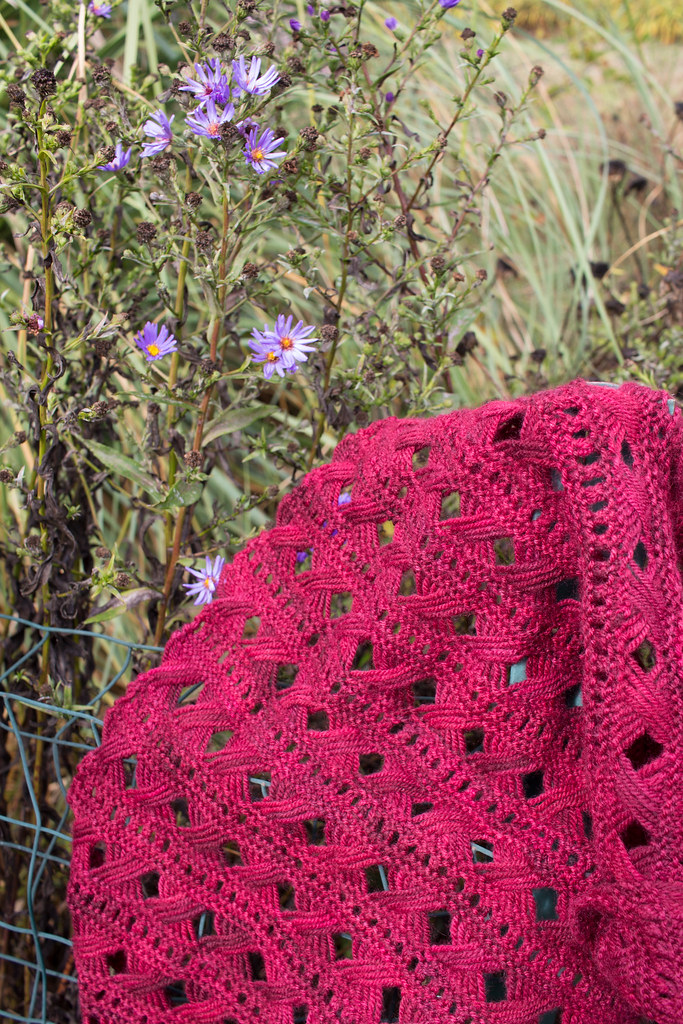
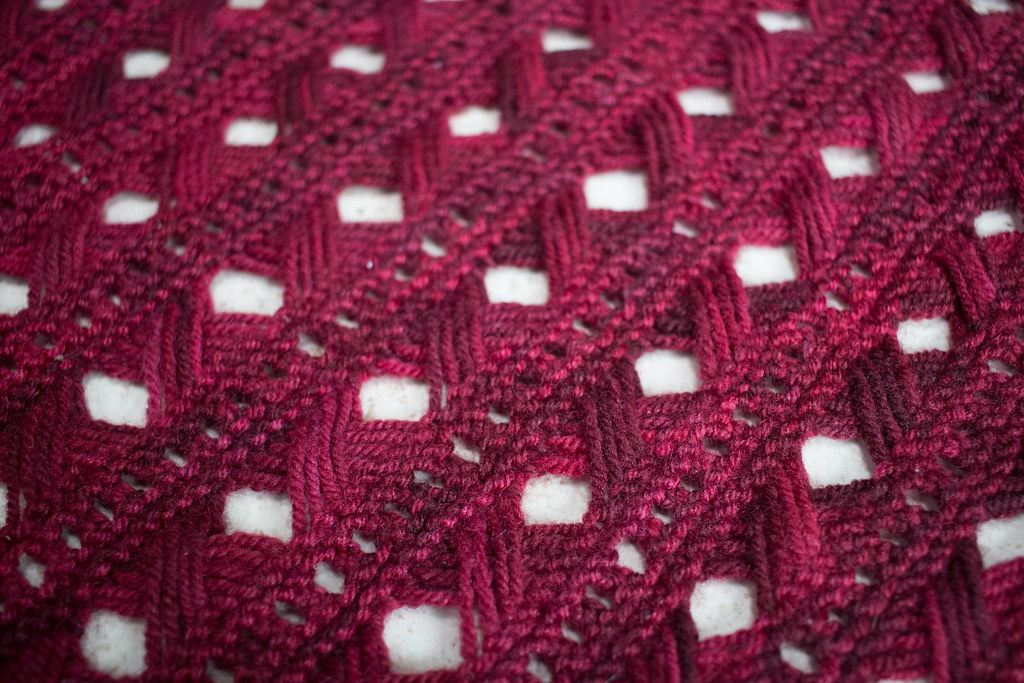
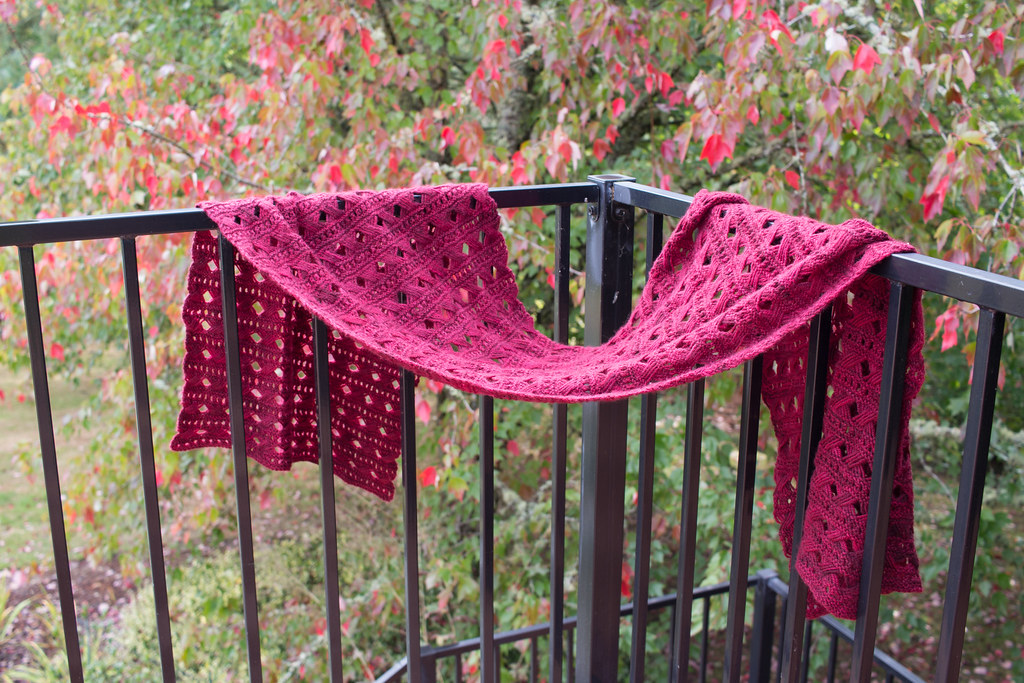
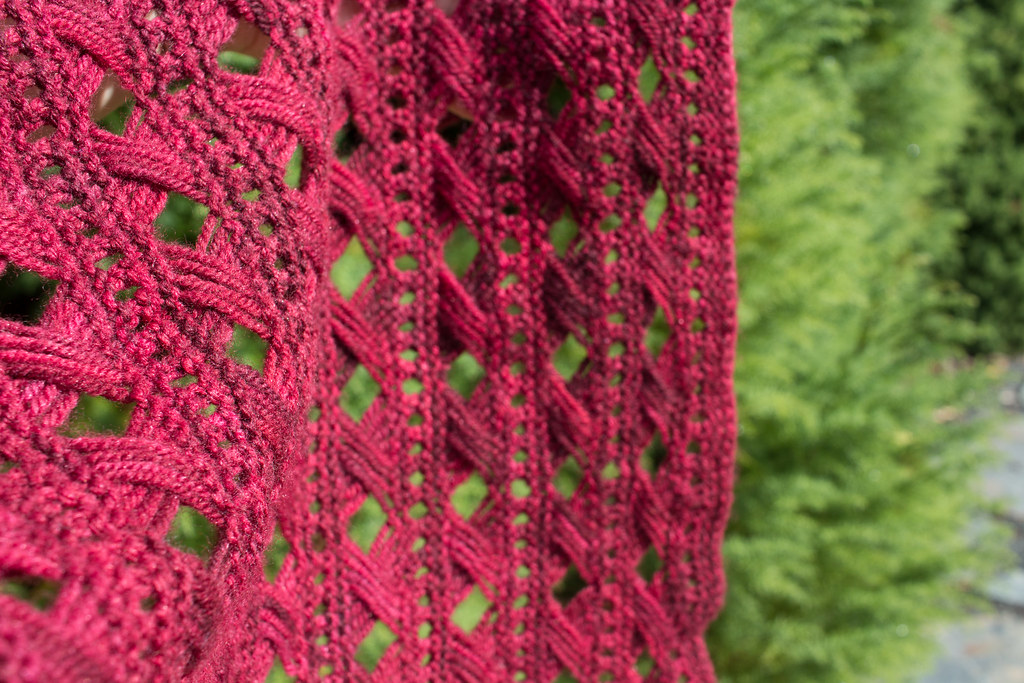
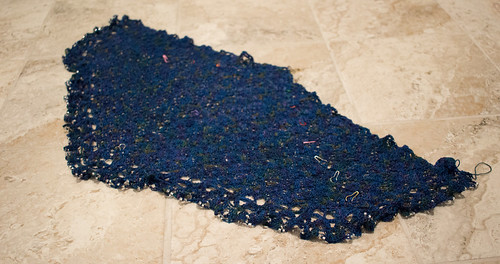
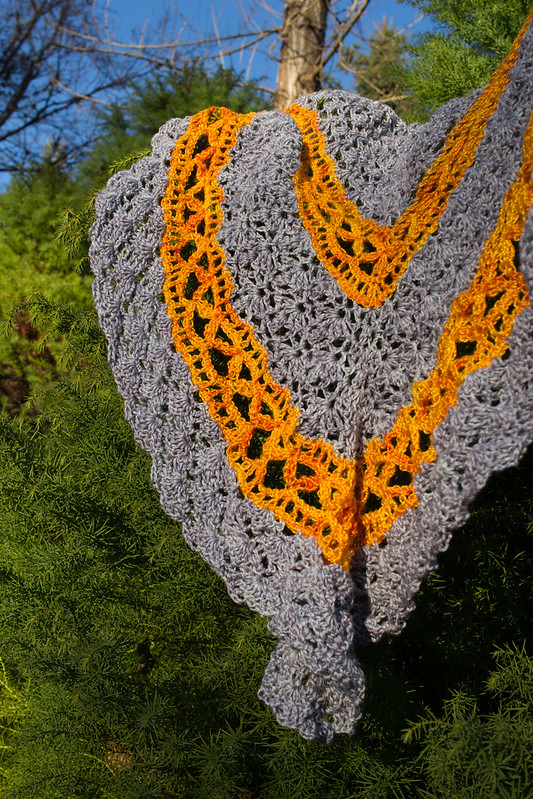
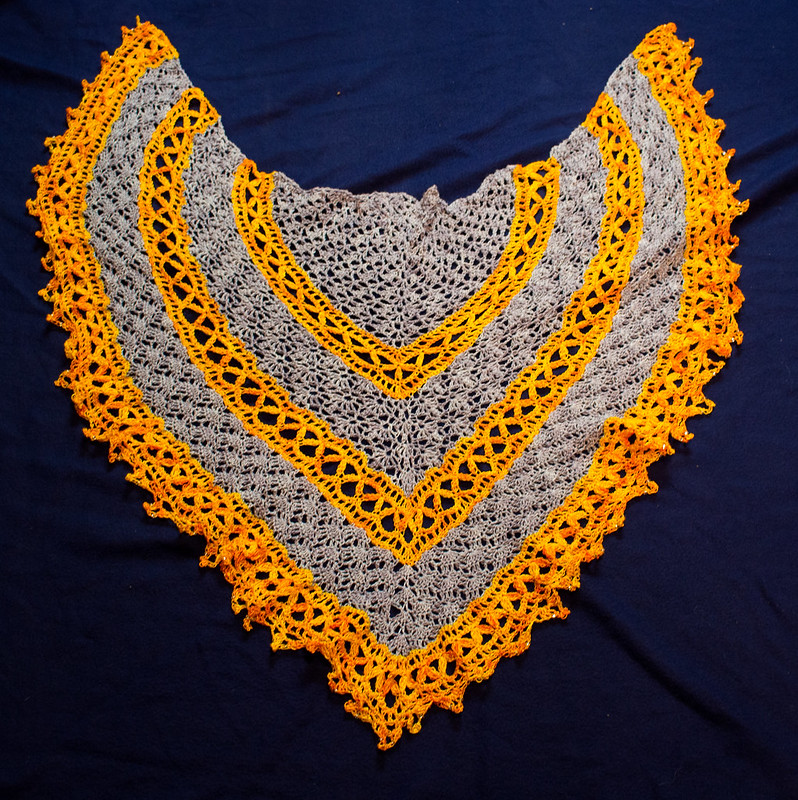
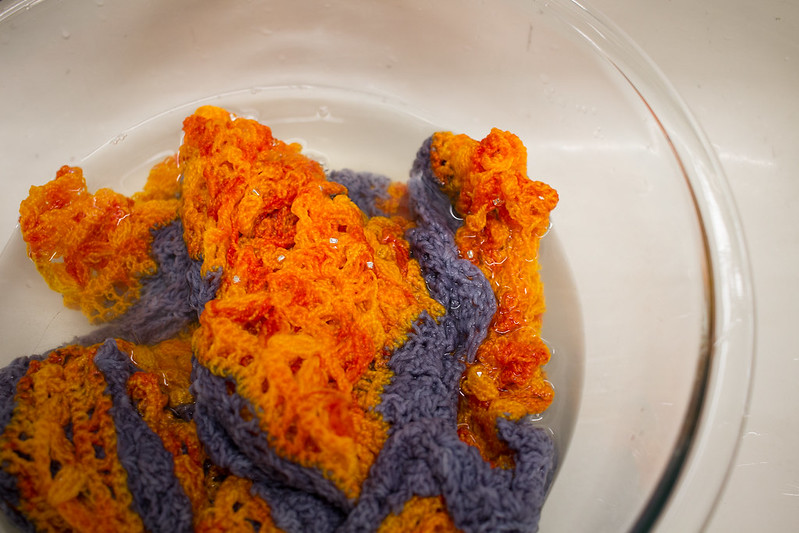
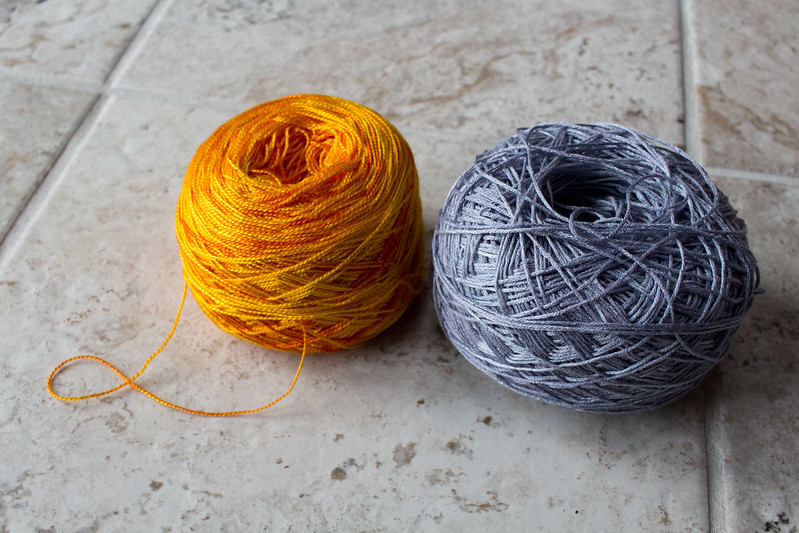
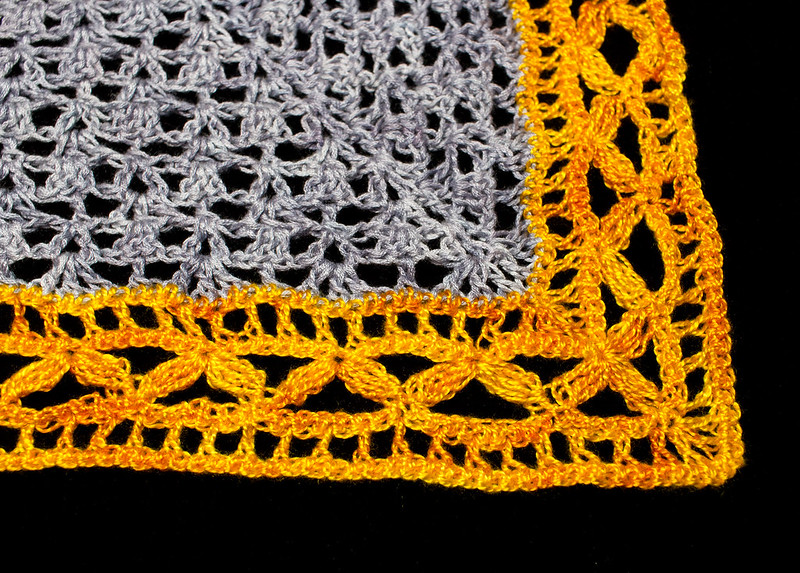
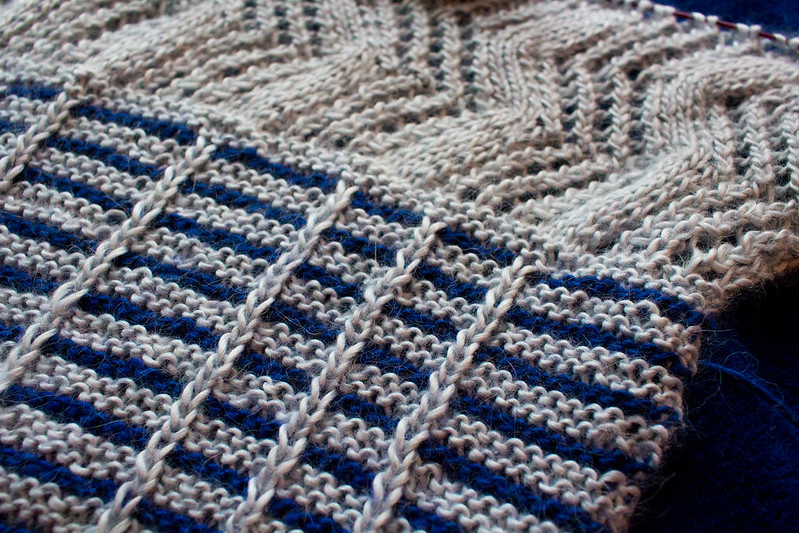
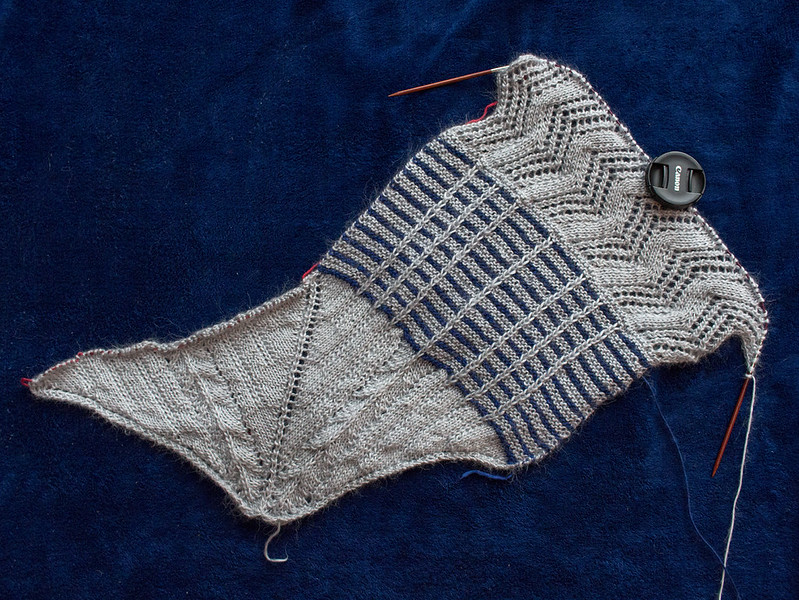
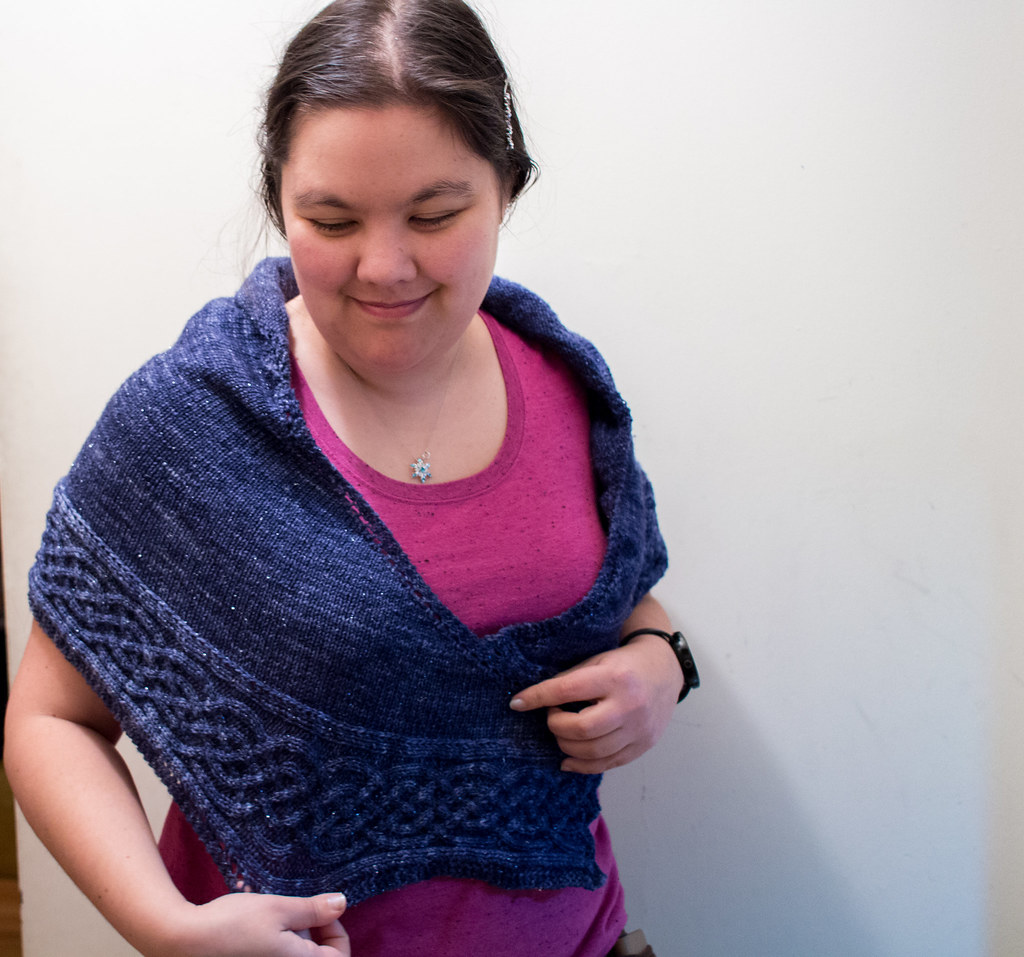
Work in progress week day 3: Cascadial Wrap. I saw this pattern knit up at the yarn show I went to in Quebec and took a picture of the tag (the yarns were lovely but the booth didn’t have colours for me) and then when I went to @oregonflockandfiberfest I saw kits that were totally in colours I’d wear and decided it was meant to be.
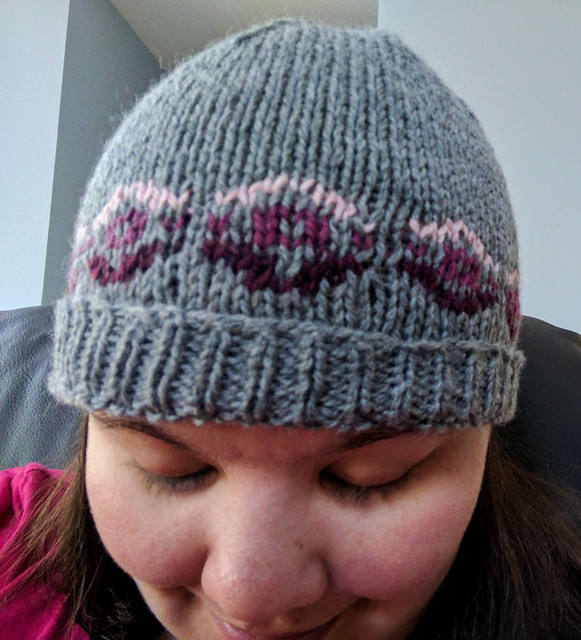
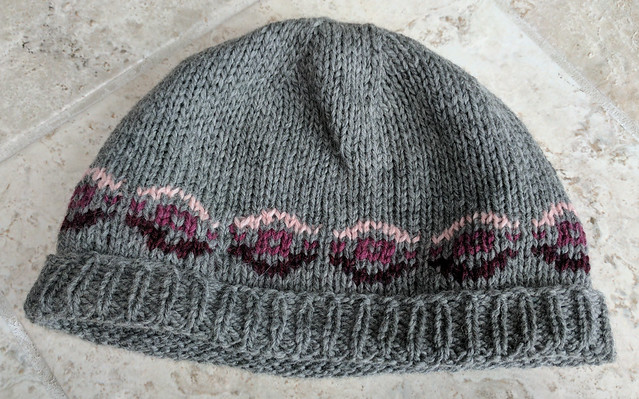
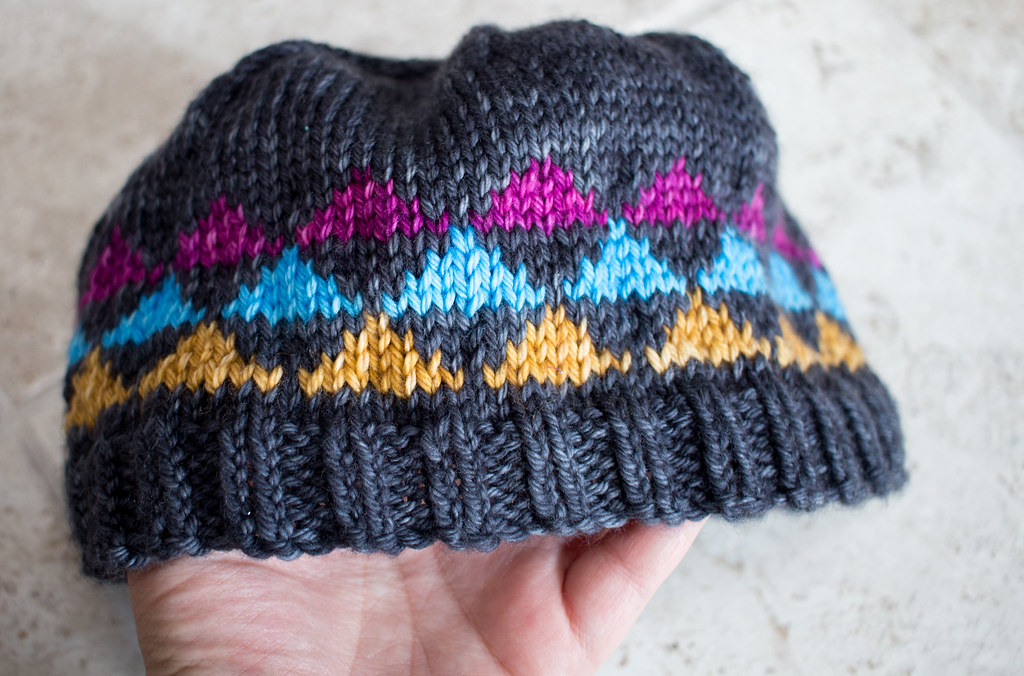
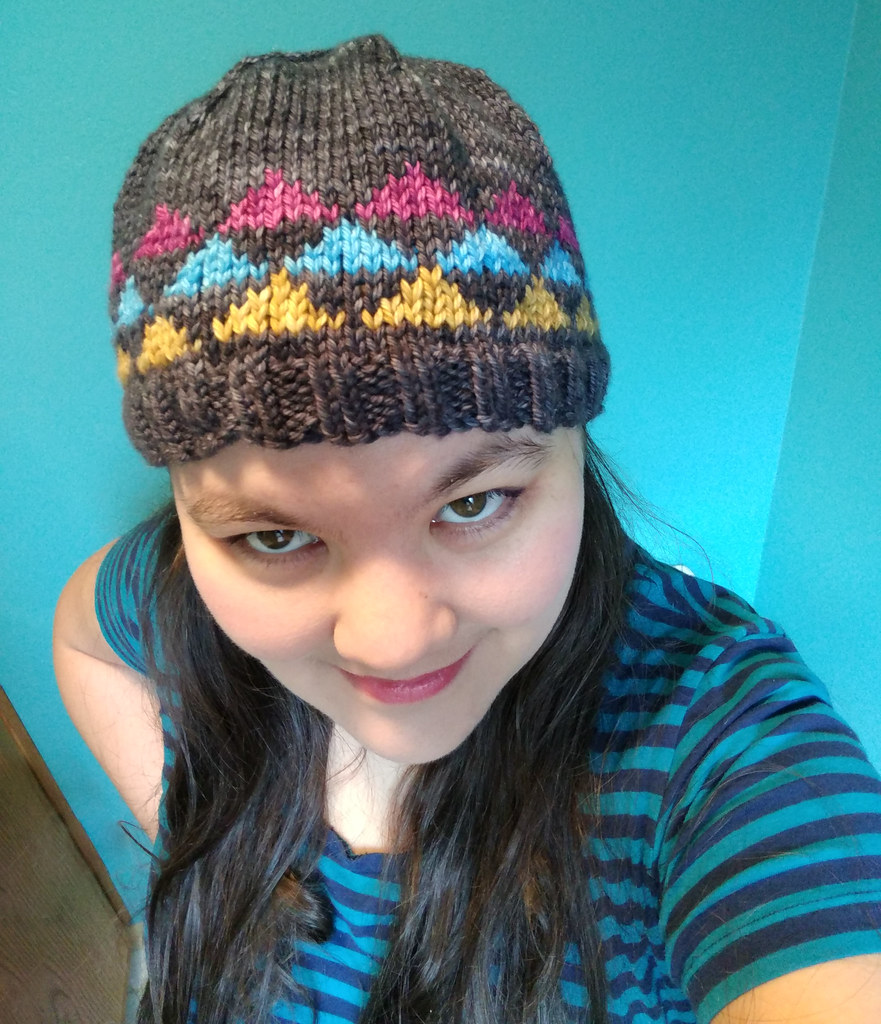
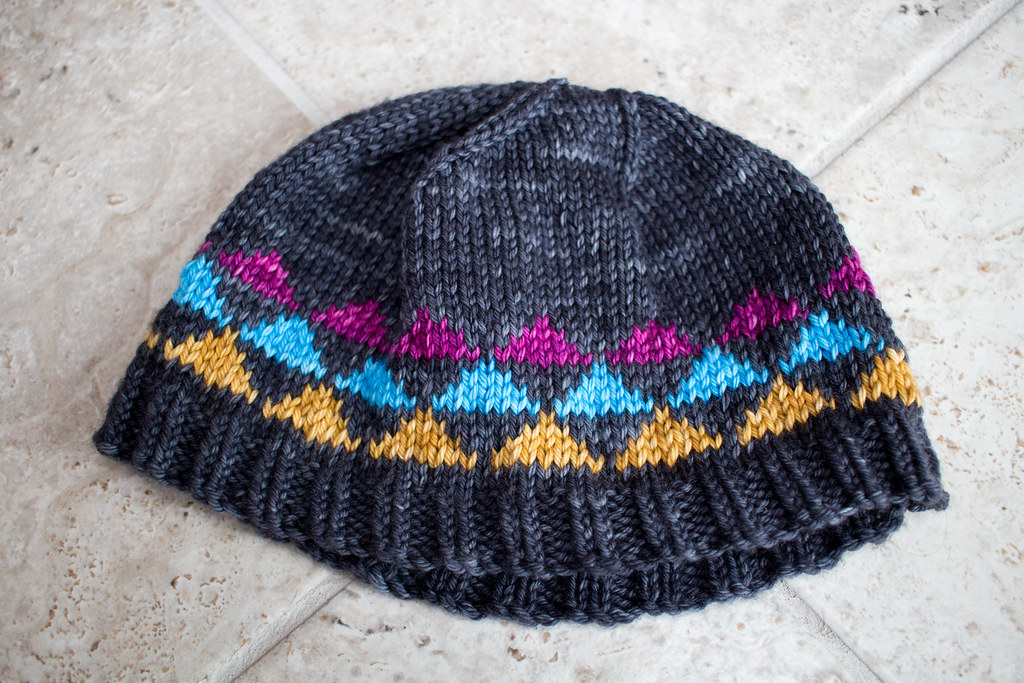
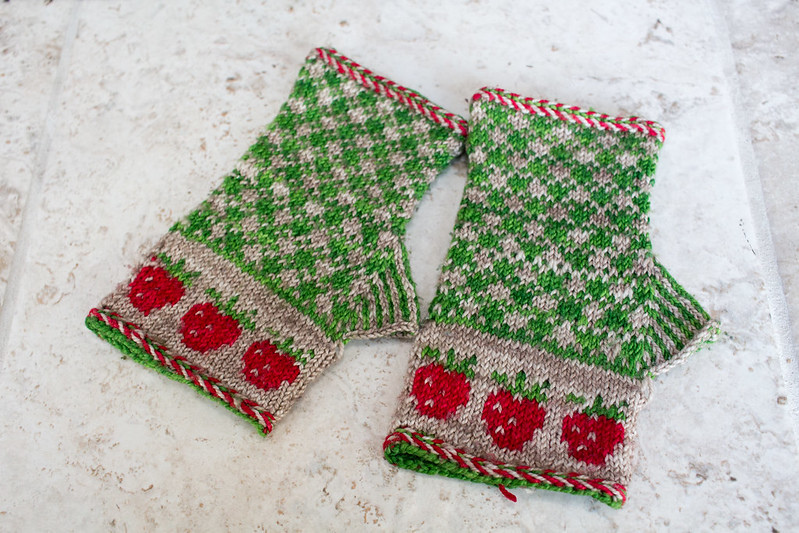
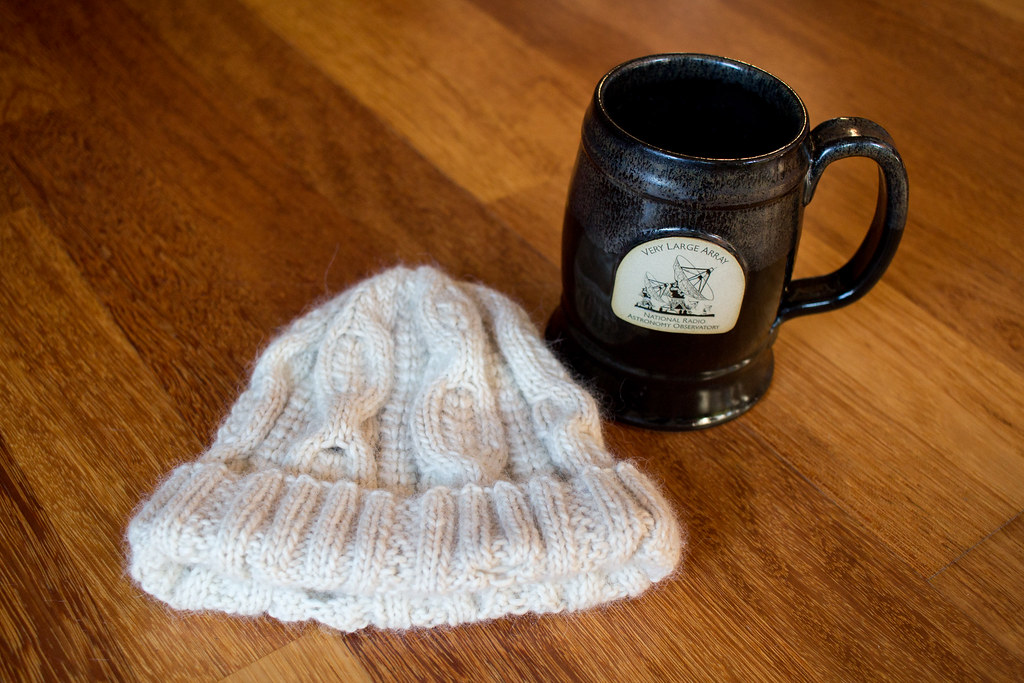
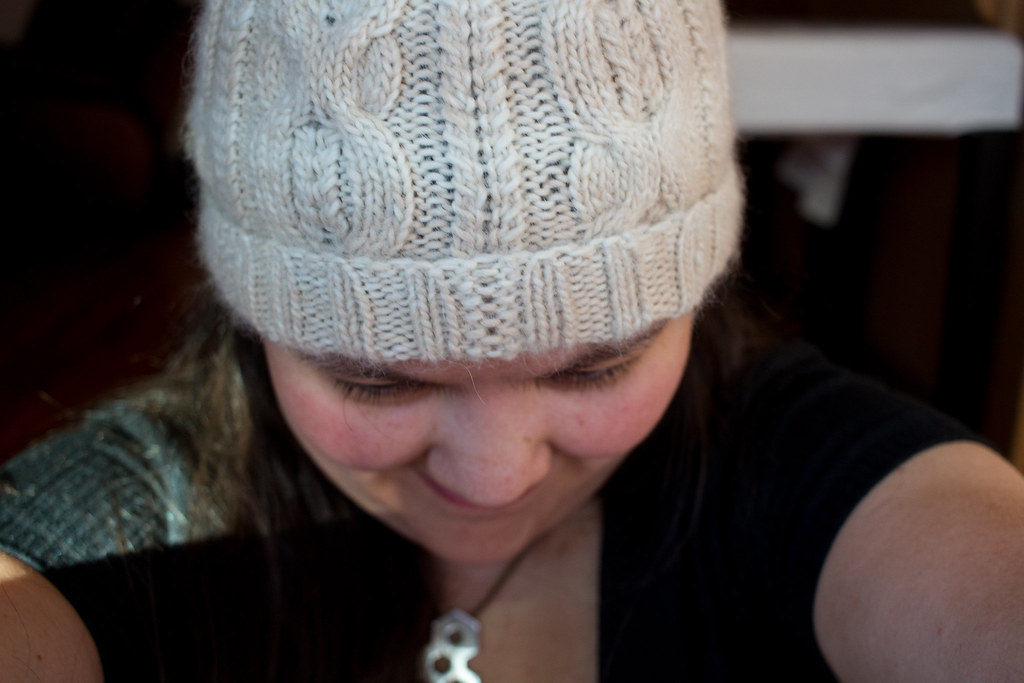
This was my Christmas holidays travel piece knit while i was visiting family, though I also made a hat for the Dread Pirate because it was cold and he needed a thicker one. (He hated it, of course, because he hates everything you try to put on his head.) It was a *great* travel pattern; interesting enough to watch it grow, but repetitive enough that i could do it in low light, while chatting, while being a warm napping surface for said toddler, etc. Looking forwards to getting back to it!
Pattern by @remadebyhand
Yarn from @elementalfiberworks

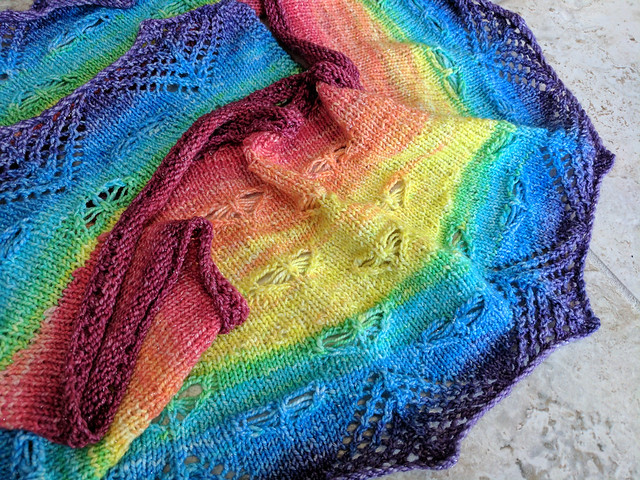
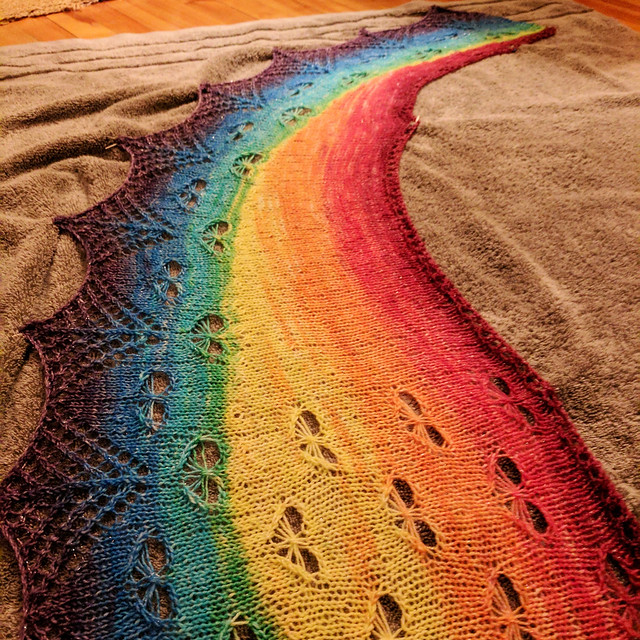
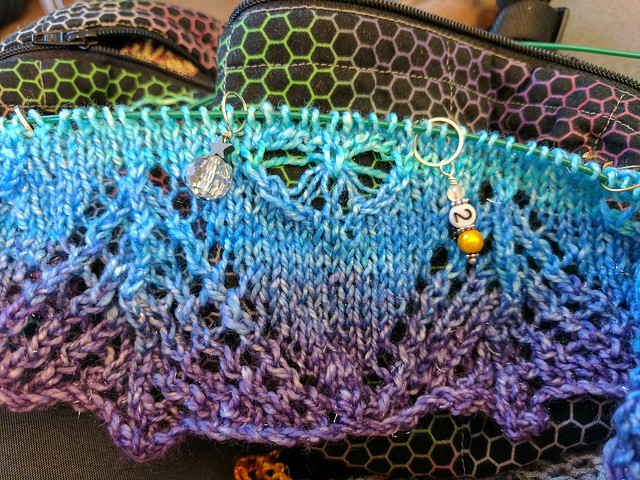
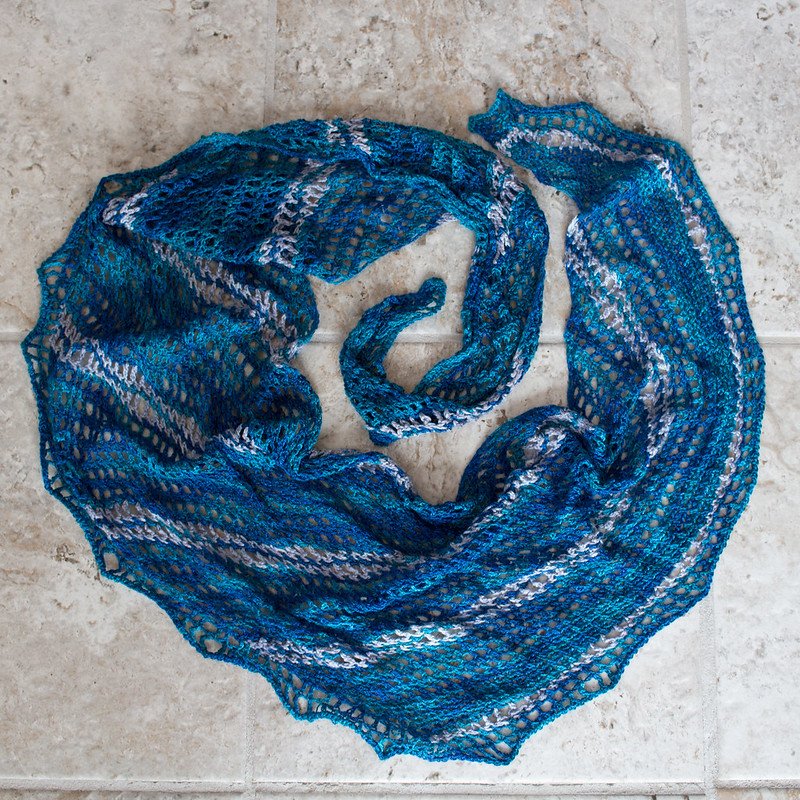
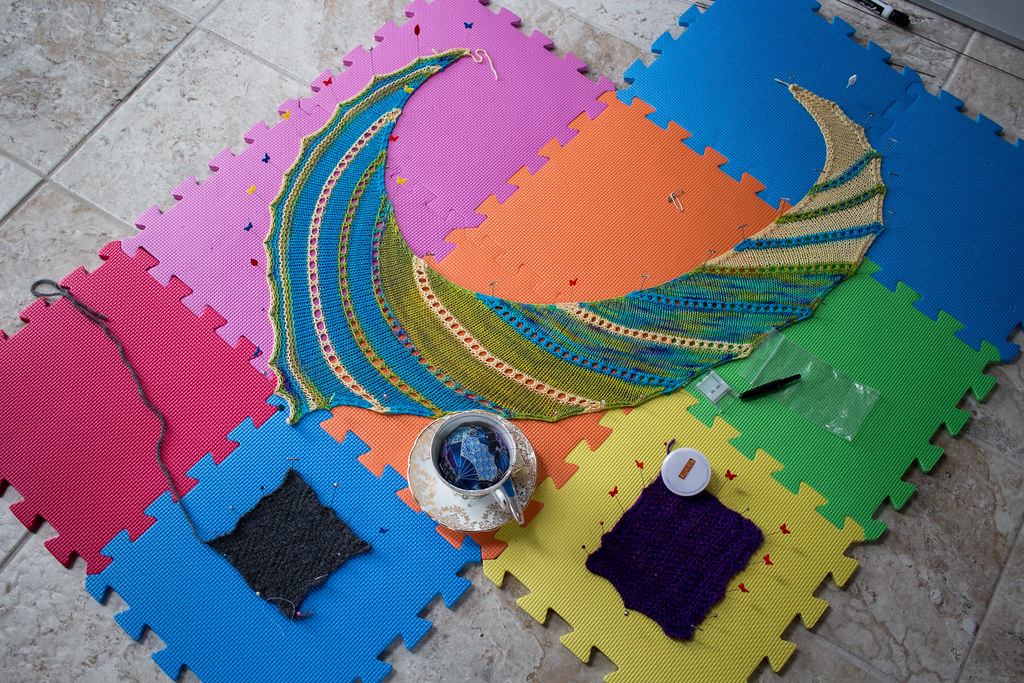
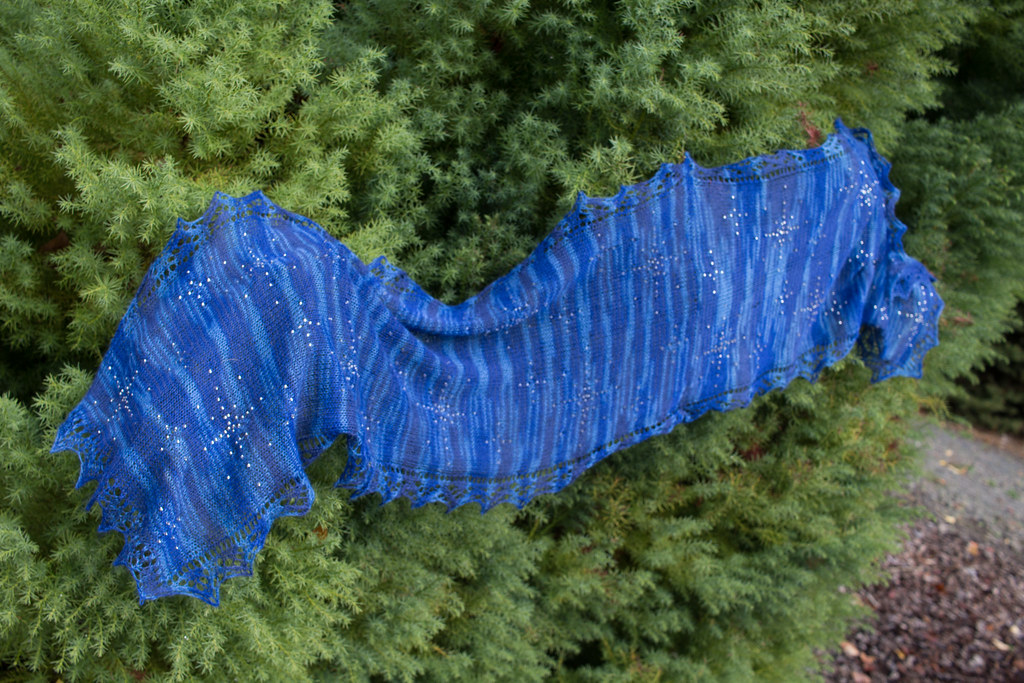
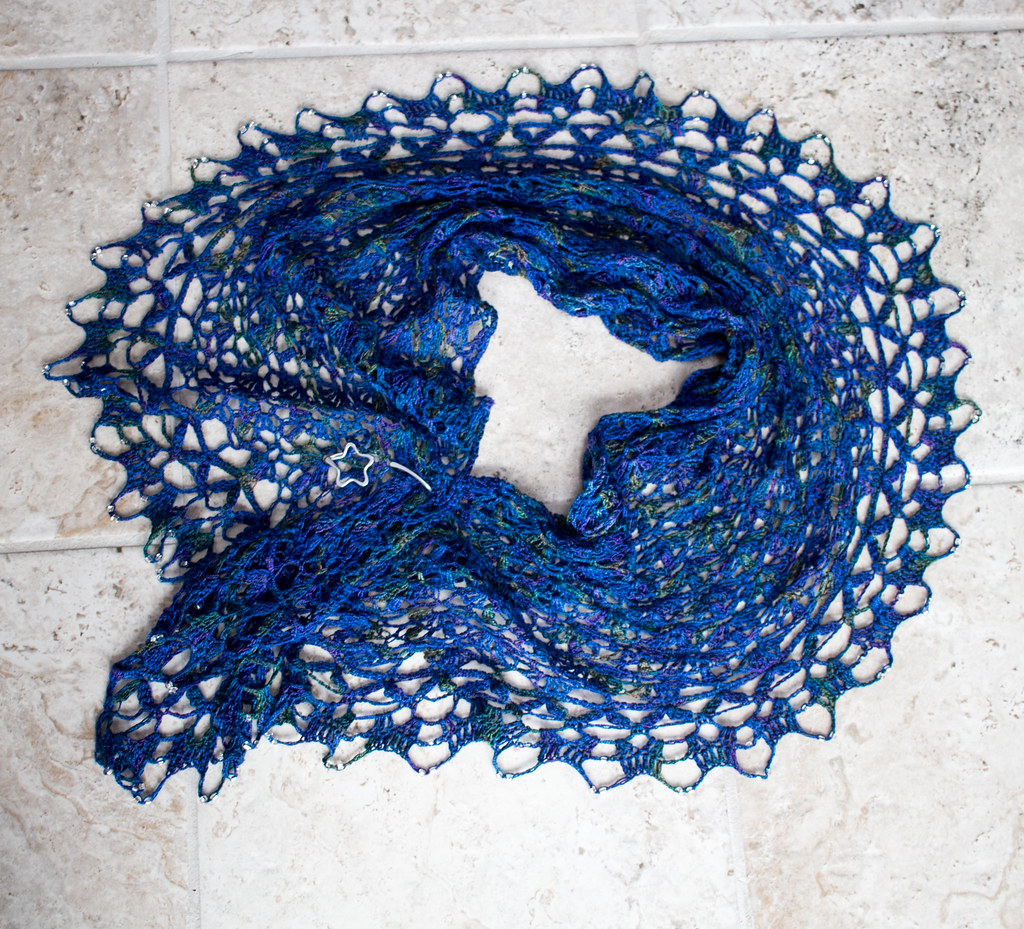
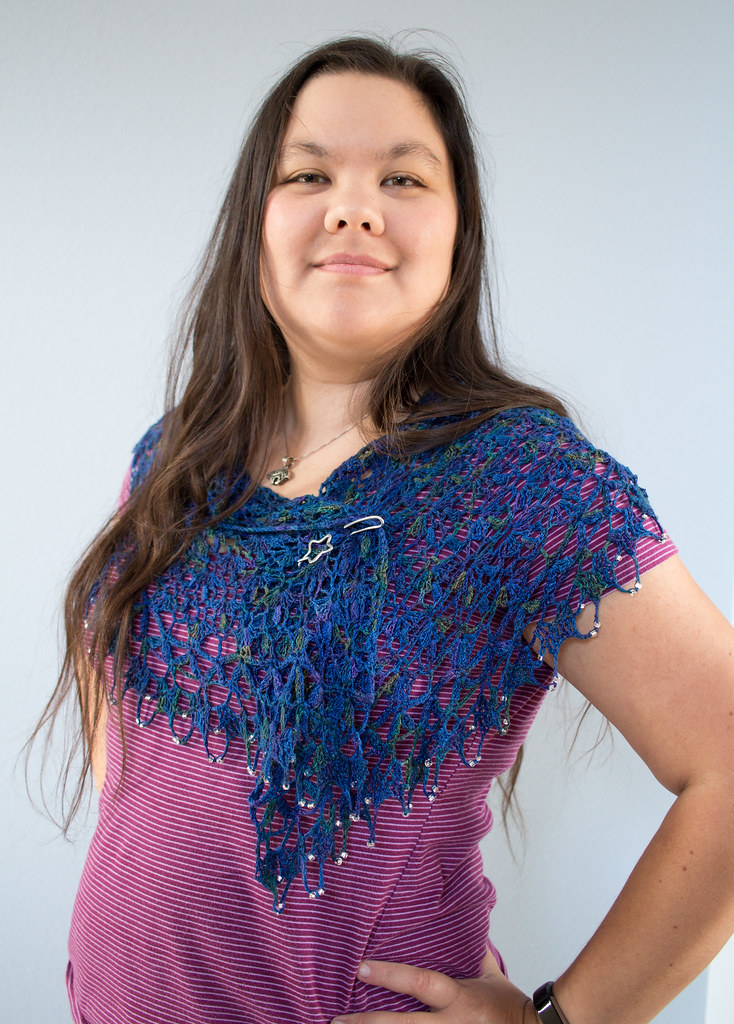
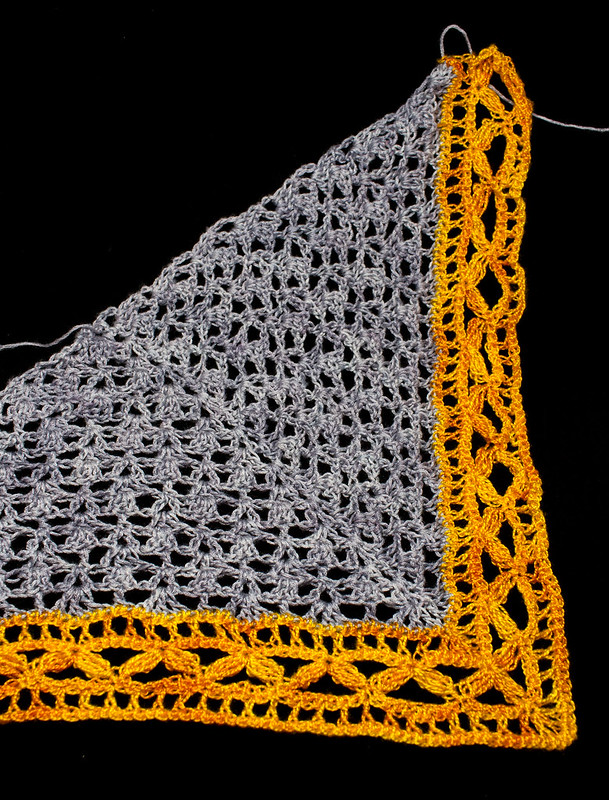
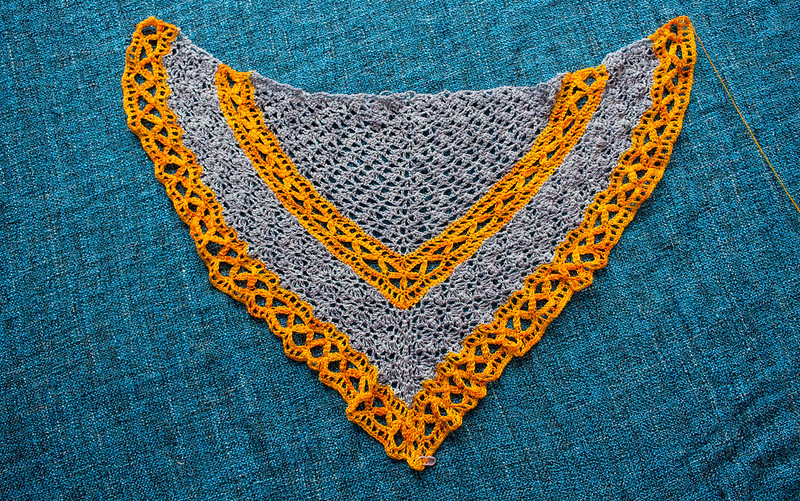
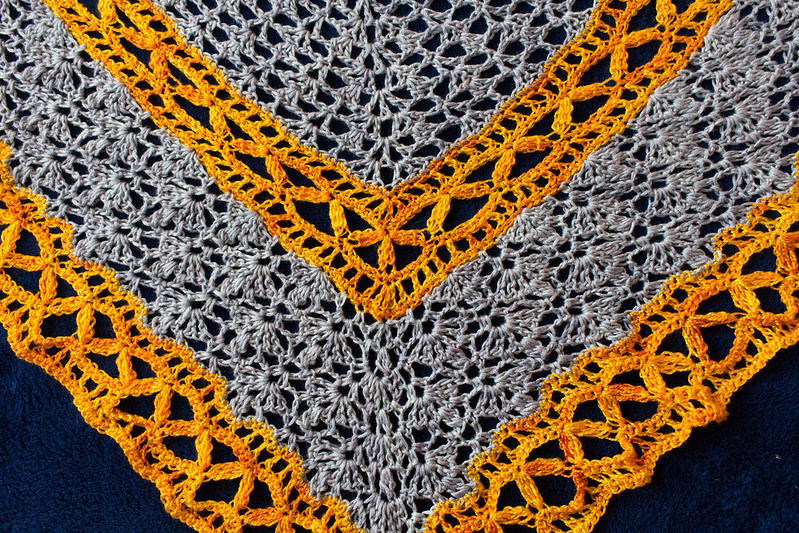
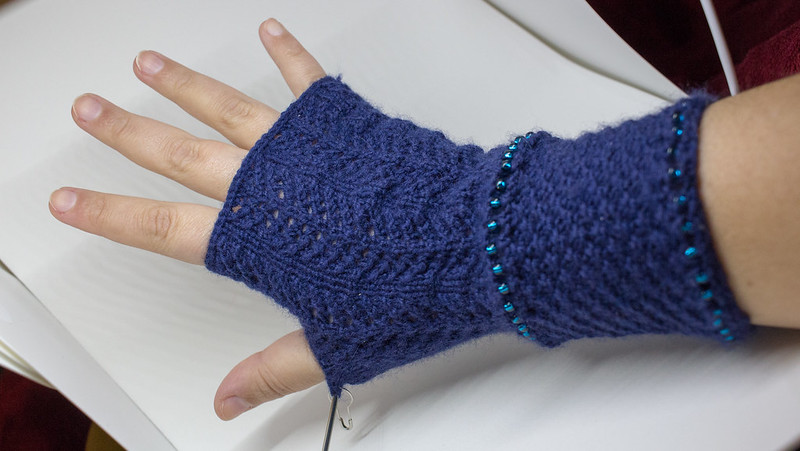
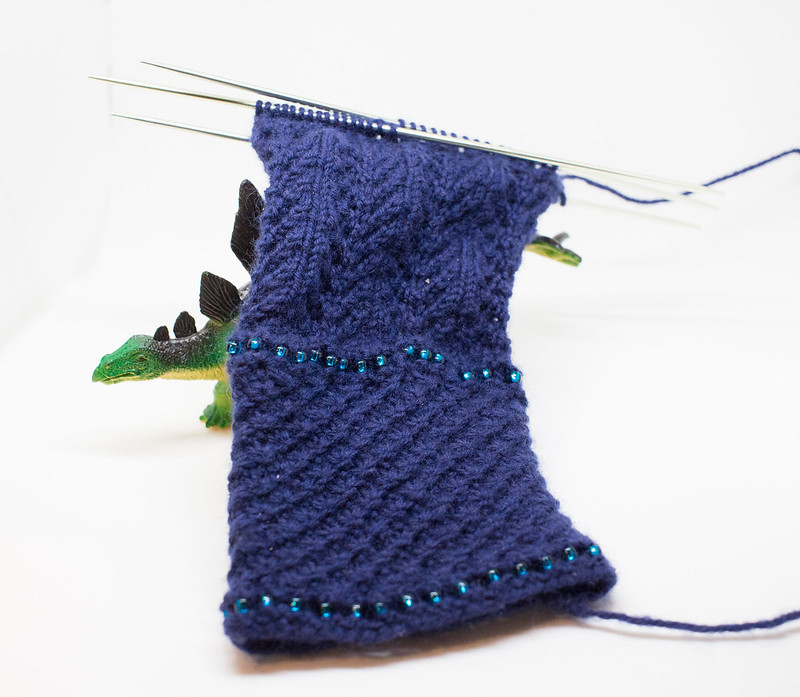
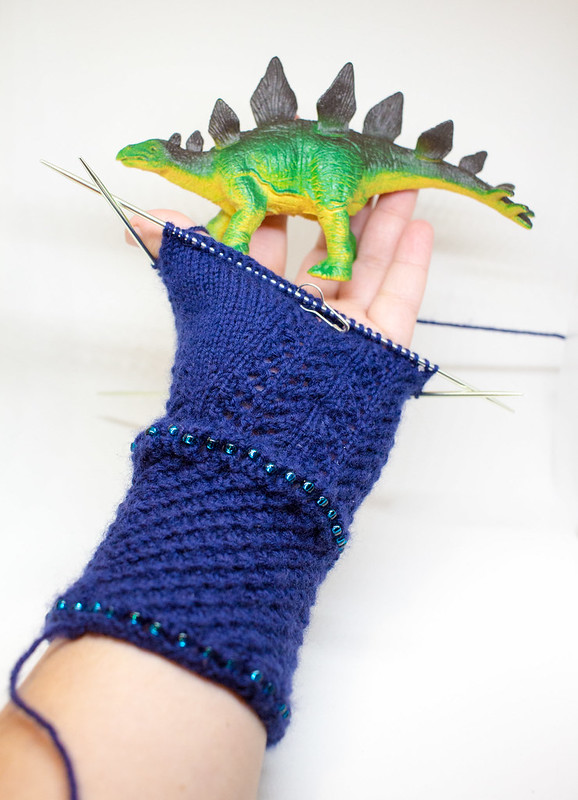
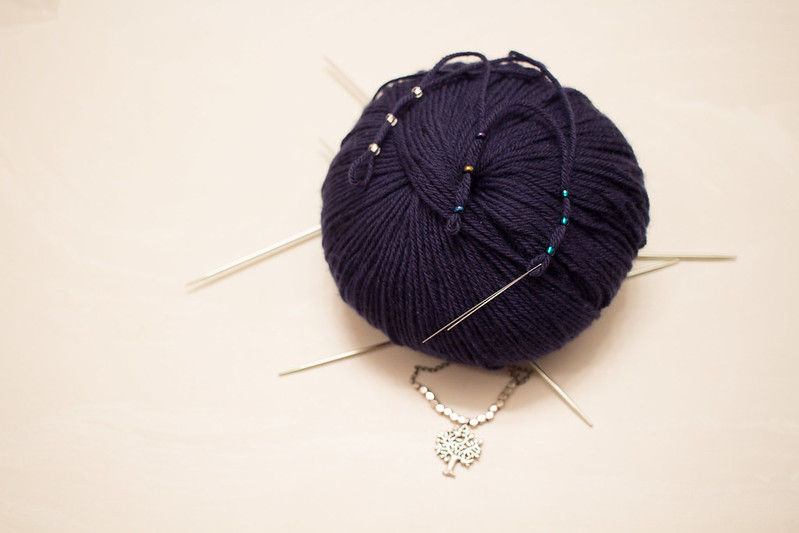
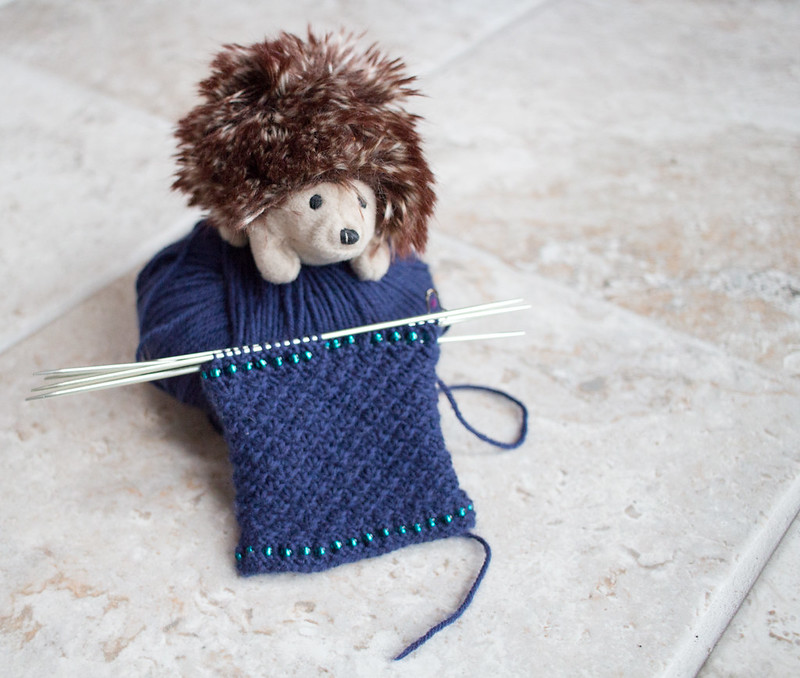
Work in progress week day 4: My Flickering Light shawl visits the Hobbit holes on the movie set in New Zealand!
This is a fun pattern but those elongated stitches proved to be too enticing to my toddler, so my vision of getting this all done on the trip didn’t work out and it’s unfinished. But it was *perfect* for the long drive out to the Shire! Hopefully it’ll get finished in my toddler-free knitting time (mostly at knit group).
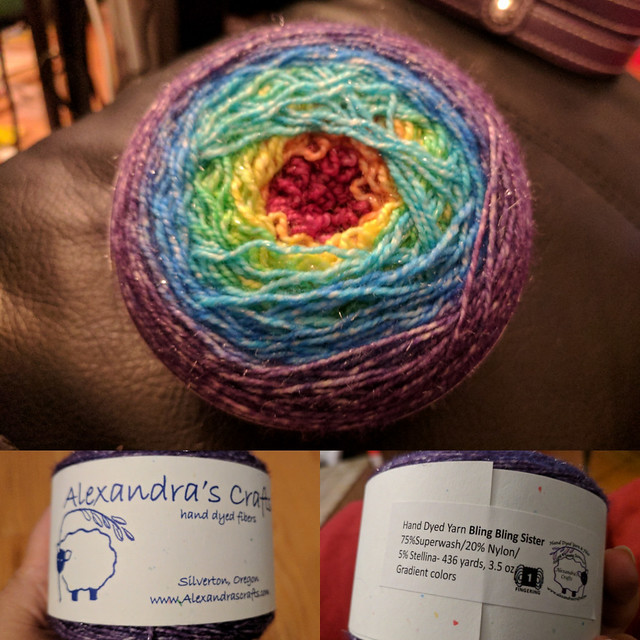
Pattern: Flickering Light by @paperdaisycreations
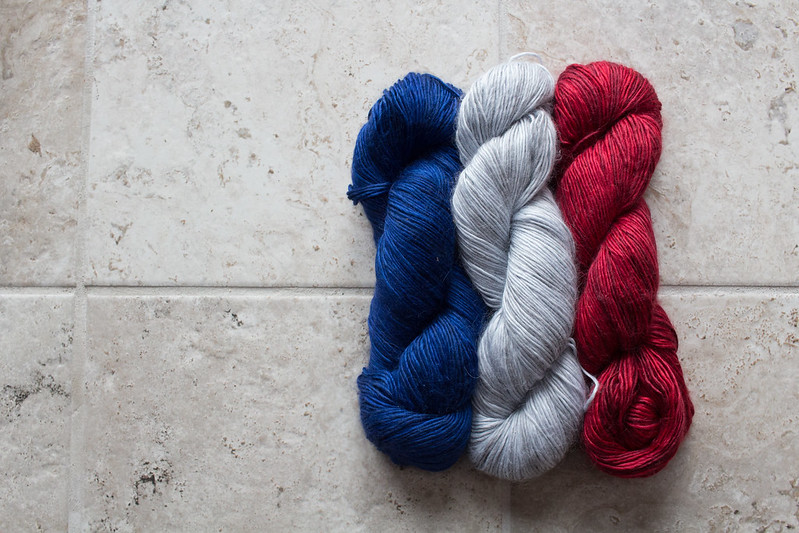
Yarn: kit from @spacecadetyarn (and oh, the squish is lovely)
Bag fabric from @firesidetxtls

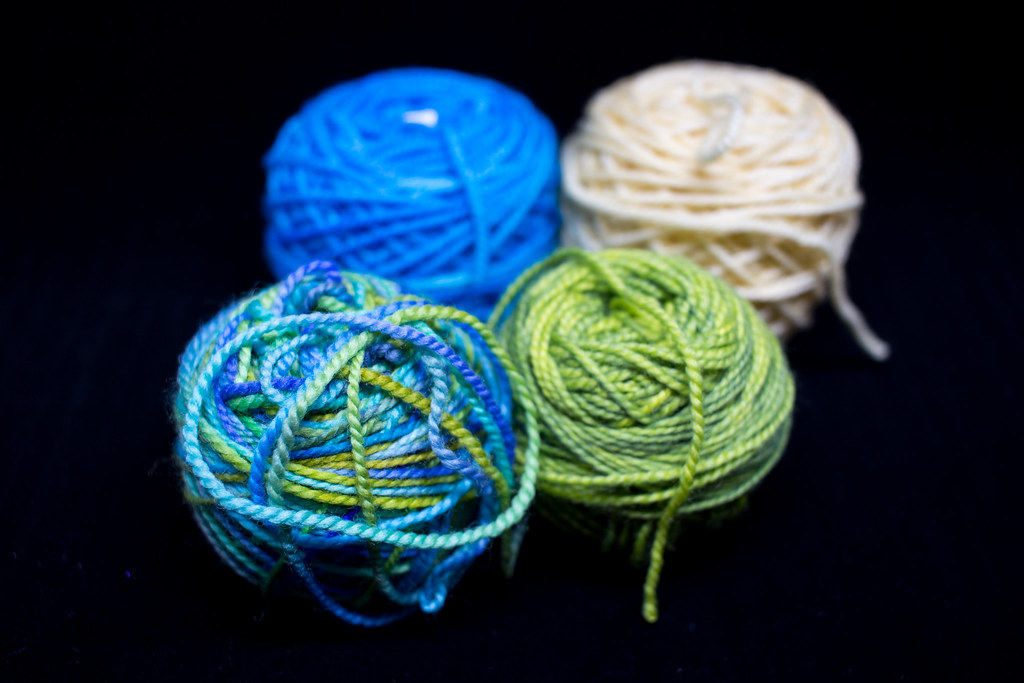
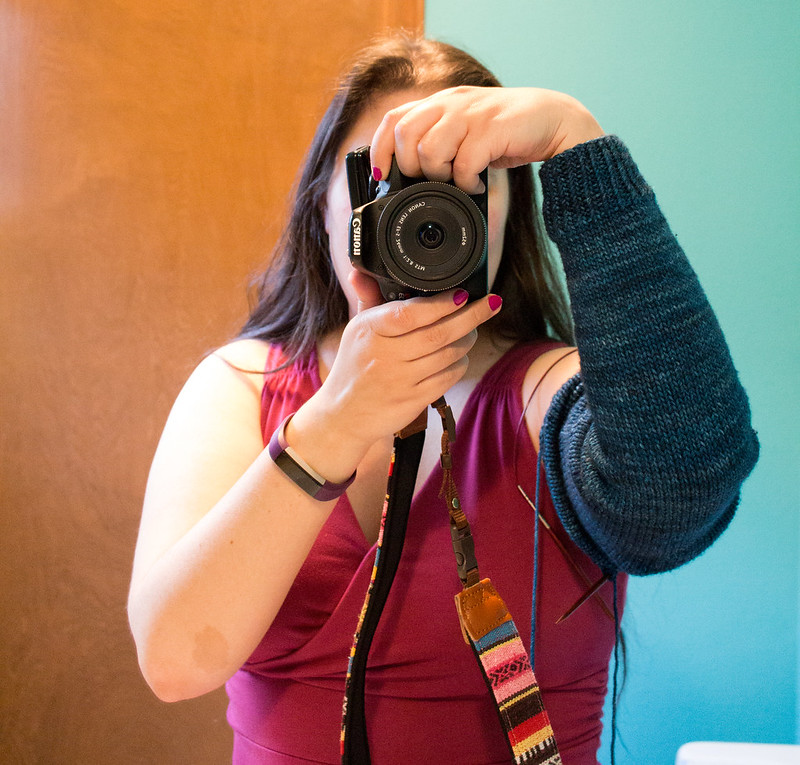
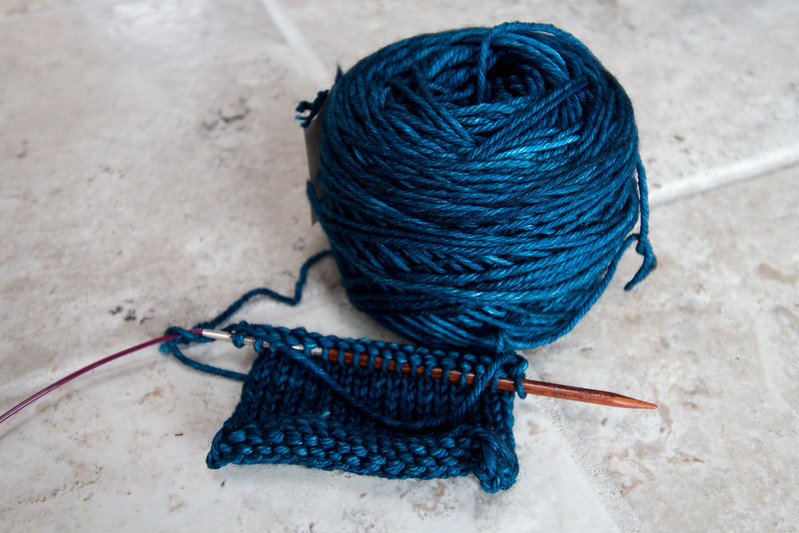
Work in progress week day 5: the backup sock. For the past several trips (Ottawa, Scotland, New Zealand) I’ve had a ball of sock yarn and needles handy in case I ran out of knitting. I didn’t run out of knitting, but with my toddler liking the other shawl a bit too much, out came the simpler backup sock and after all that travel, it finally got cast on in Christchurch, New Zealand.
Pattern: Sundae socks by @shannonsq (though I think I subbed in the heel from her Spare Time socks)
Yarn: @knit_picks felici in “time traveller” (inspired by the dr who scarf but with fewer colours) — goes well with my camera strap!
Bag: @tombihn organizer pouch I’m calling my “baby safe” because the clip I added through the zipper pull keeps my toddler out. (Someone in the forum mentioned these locking clips for pickpockets and they’re great for toddlers!)

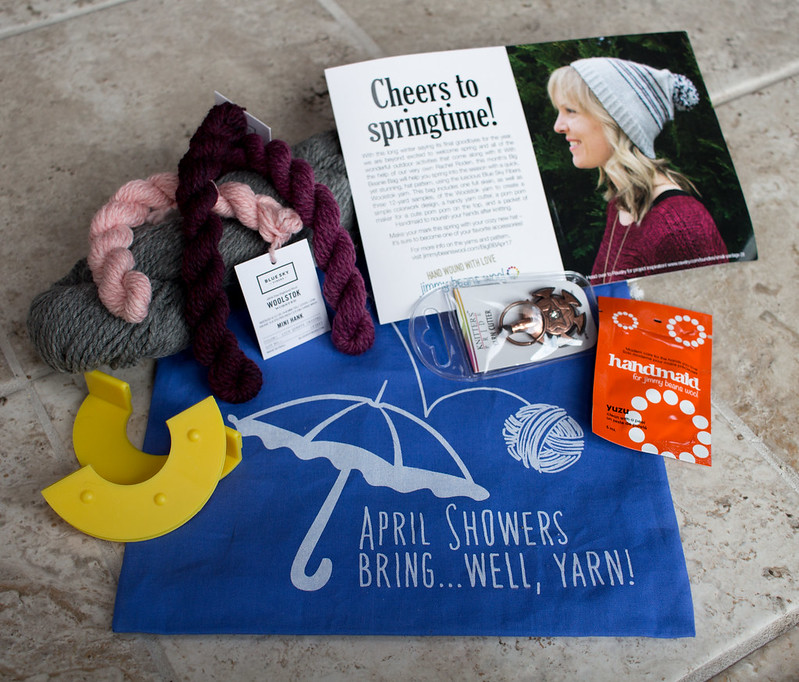
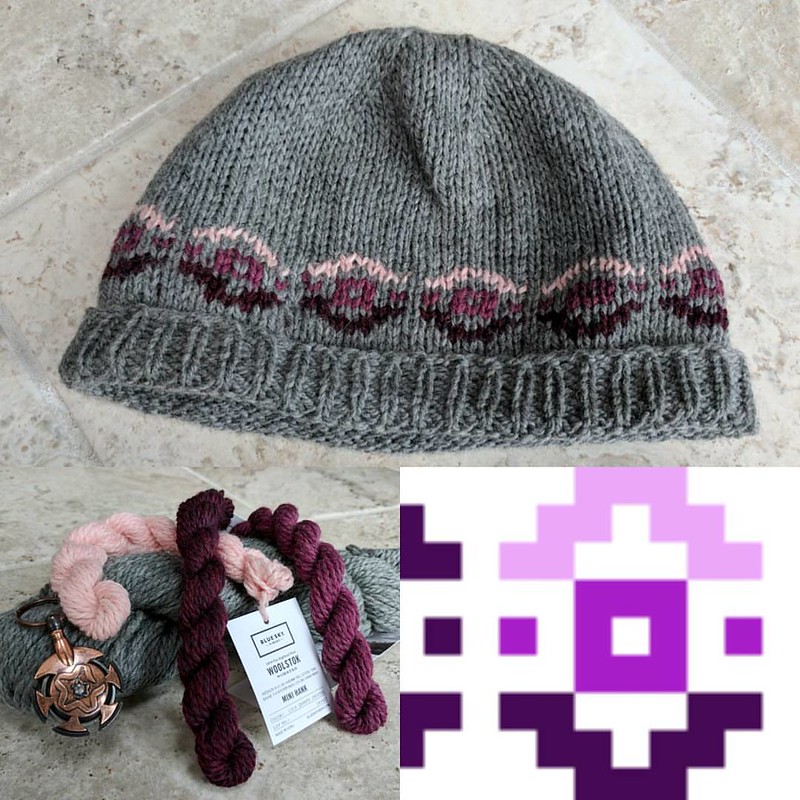
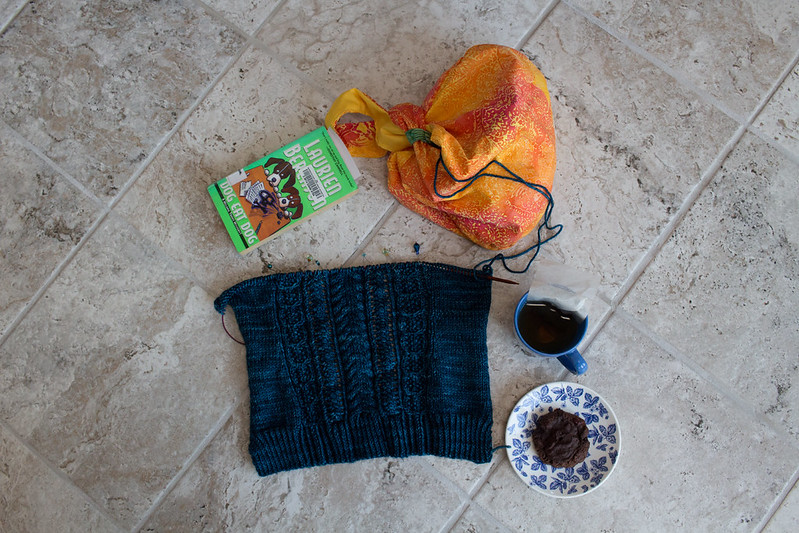
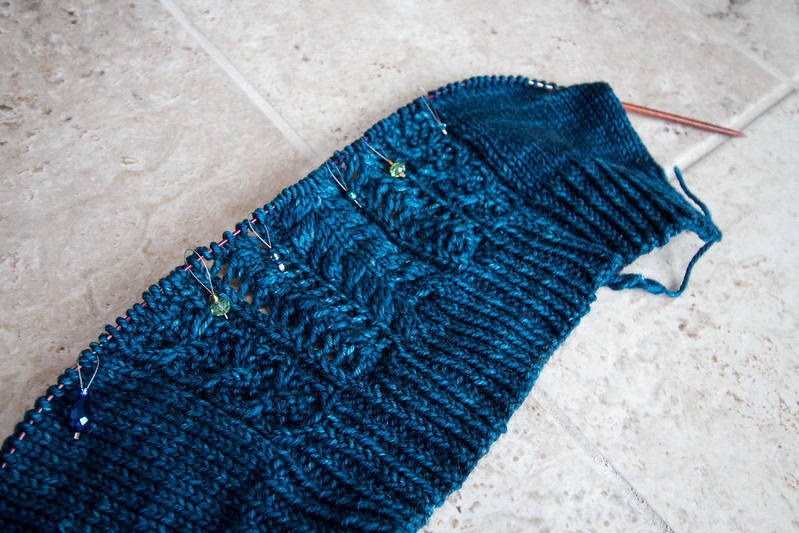
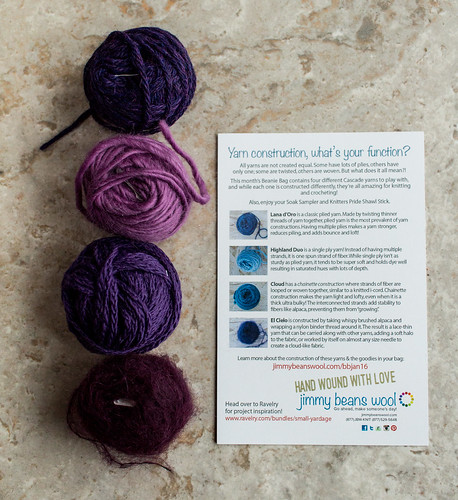
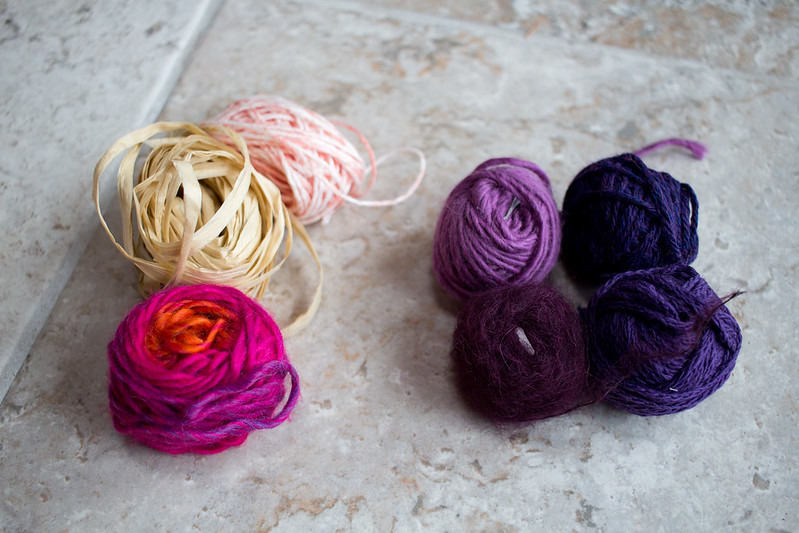
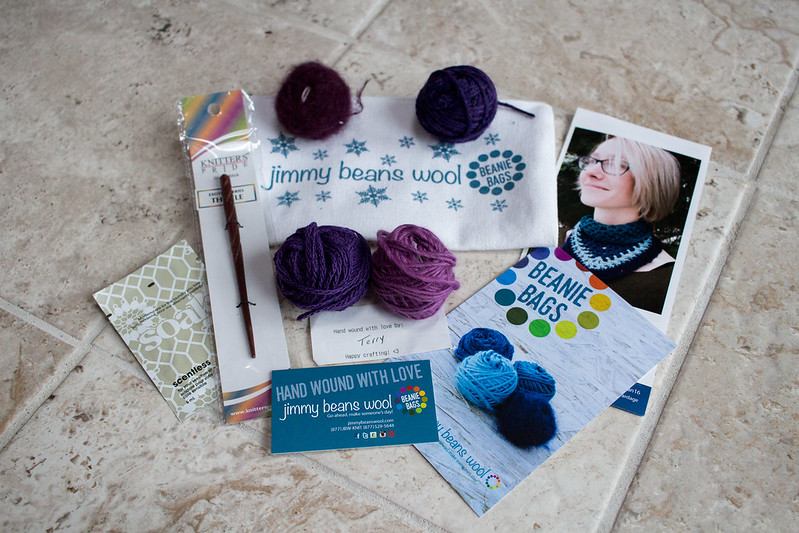
Work in progress week day 6, my Tosh Shawl Club from @jimmybeanswool. I was so good at staying on top of this until my trip to Scotland, whereupon I never caught up. But it’s a really fun pattern with lots of texture and it was neat getting mystery yarns year round for 2018. I’ll catch up on this one soon; there’s a few months worth left but they’re small balls.
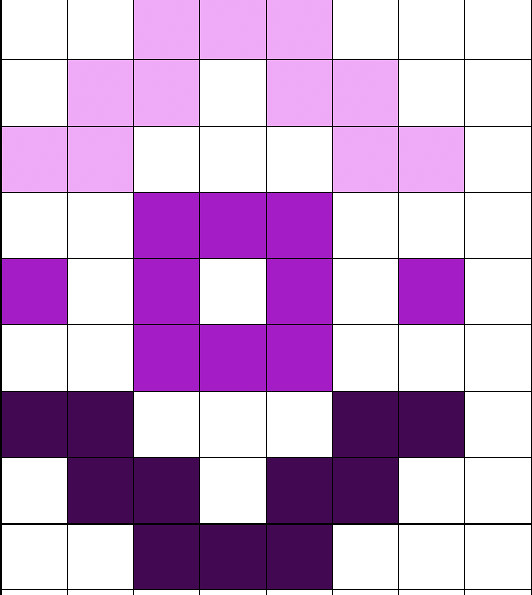
Pattern: Tosh Shawl Club
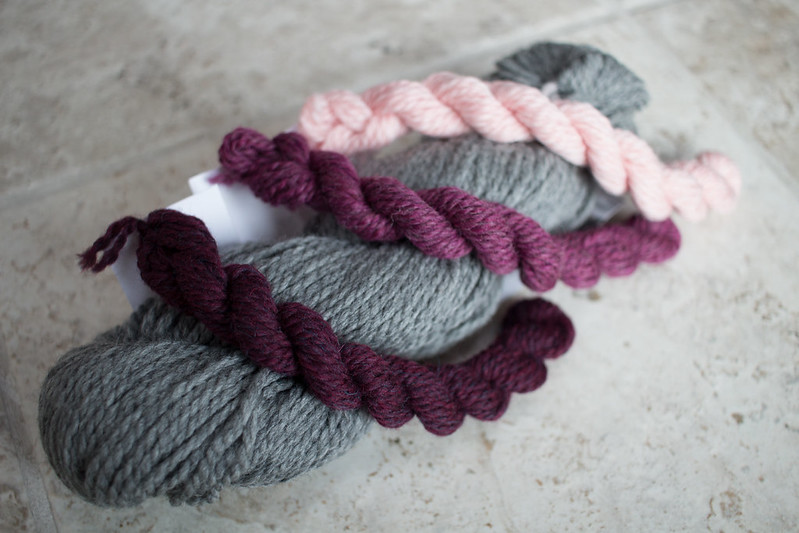
Yarn: @madelinetosh
Narwhal bag from @twinklentwilight

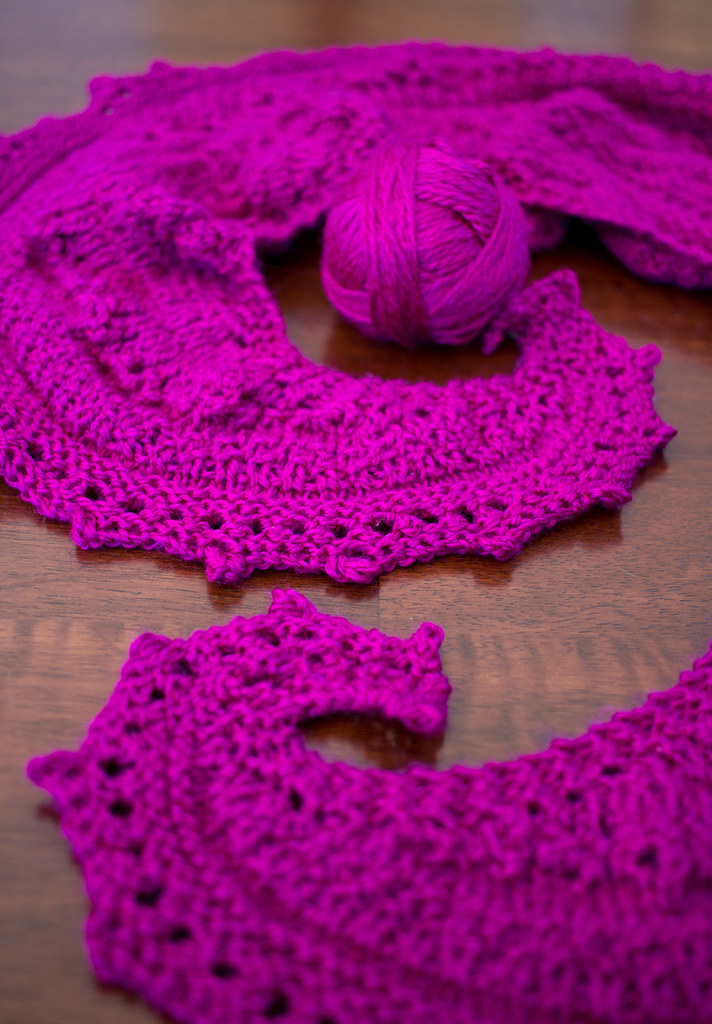
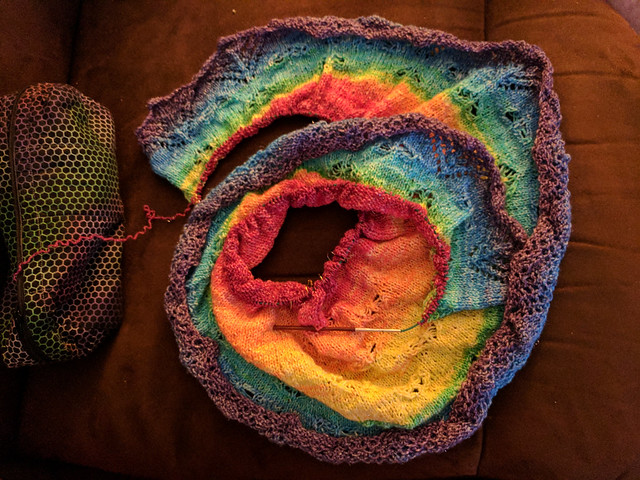
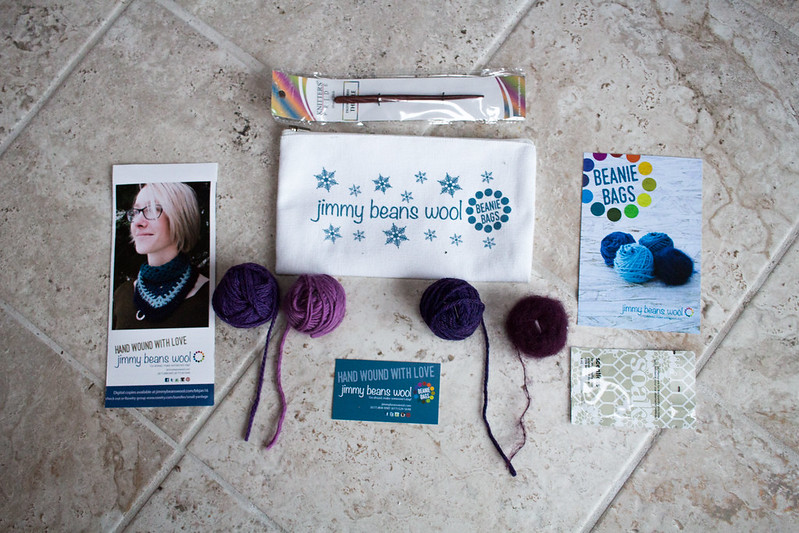
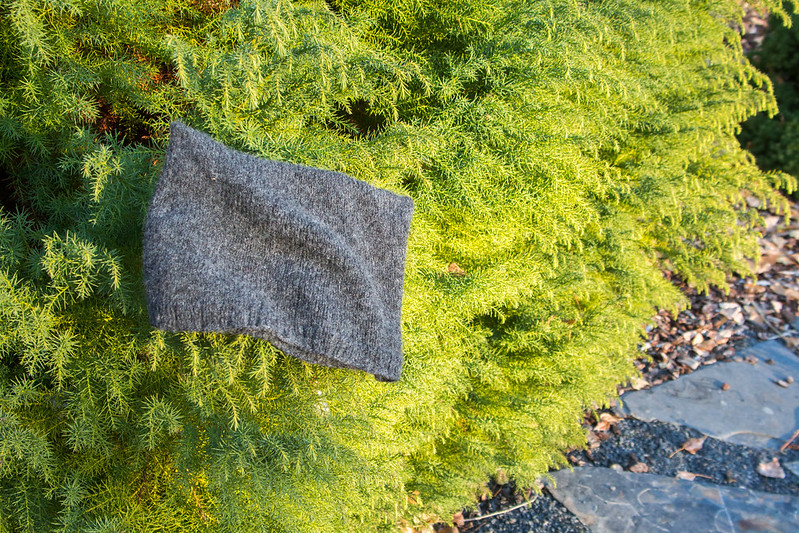
Work in progress week, day 7: British Invasion kit. This is a neat sampler of British wool with a simple cowl pattern. I honestly don’t remember when this was started: i think maybe one of several trips to the Seattle area this fall, though it’s possible it was the backup kit for my summer Ottawa trip. I clearly didn’t get very far! But it’s not the cowl, it’s just the way my fall went.
Pattern: Mosaic Tiles cowl
Yarn: British Invasion sampler from @jimmybeanswool
Bag: I think this was the first fabric I got from @firesidetxtls’ Patreon
And that’s the last of my #wipweek ! I have a few more works in progress around (my unfinished Poca sweater will be back on the needles soon enough) but I think 7 is enough for now.